30 STEPS
1. Go to Settings in your MyPass portal page.
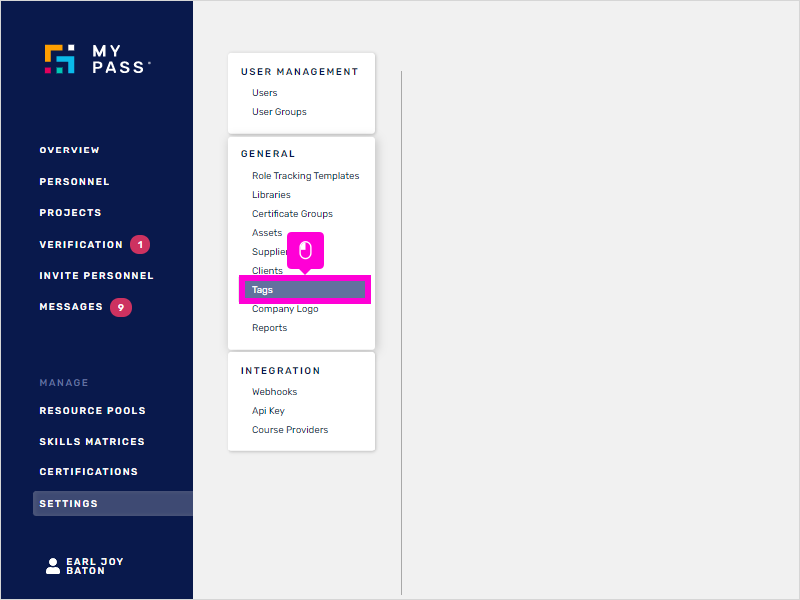
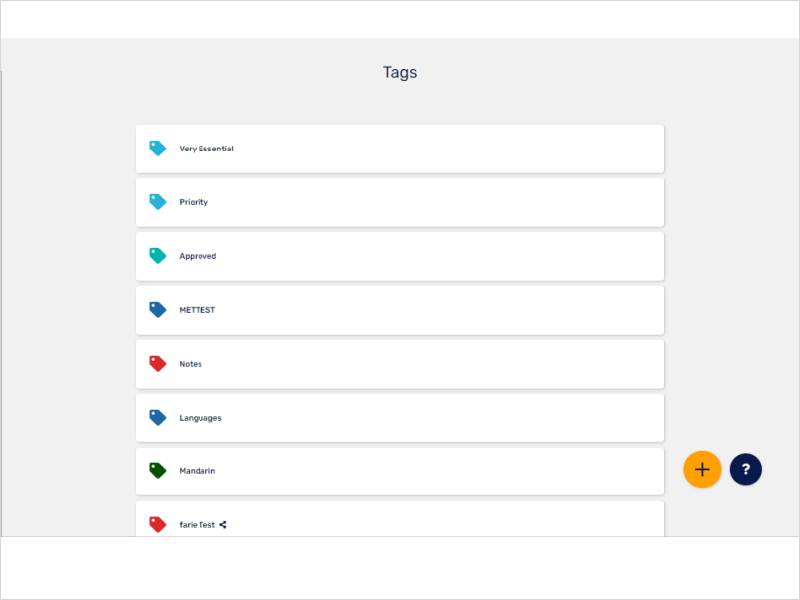
2. Click Tags.
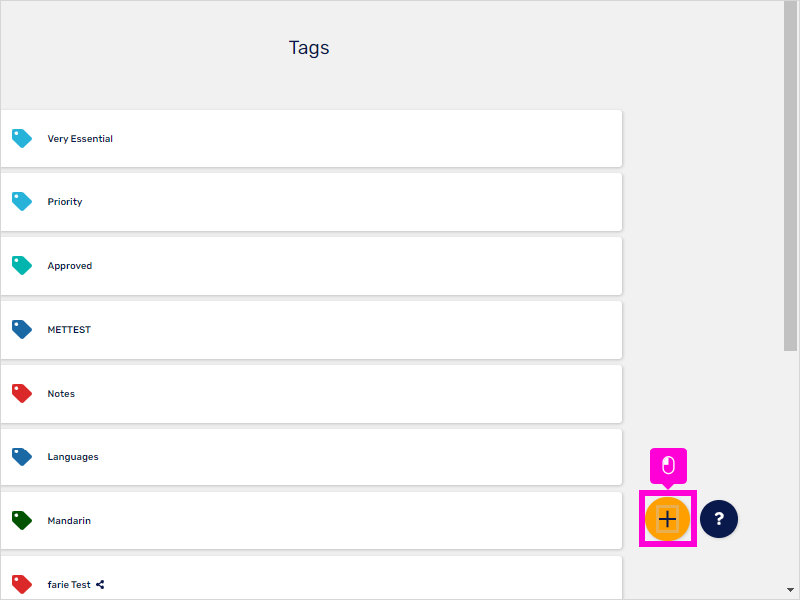
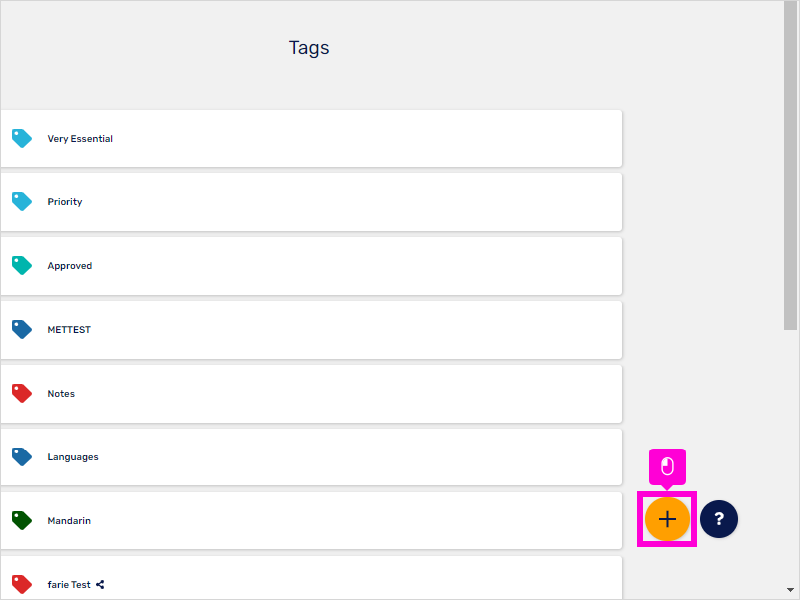
3. Click on the + icon to add a new Tag.
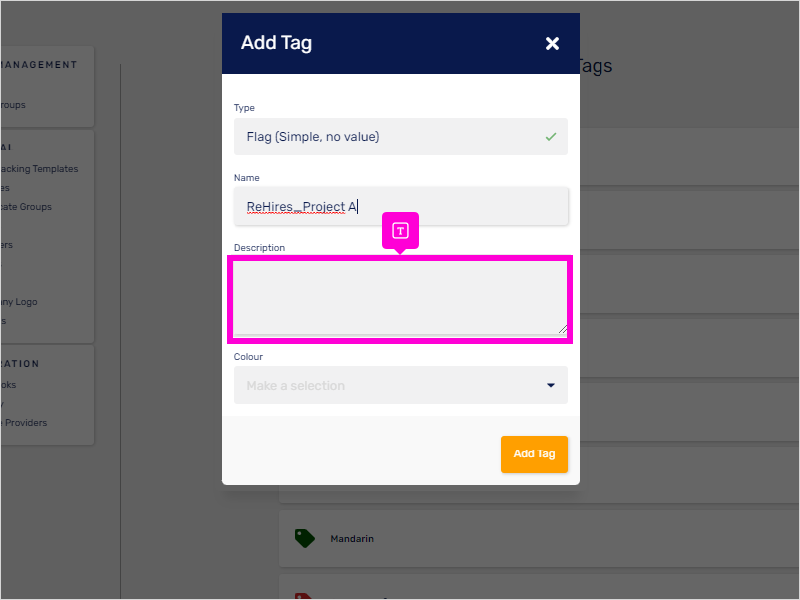
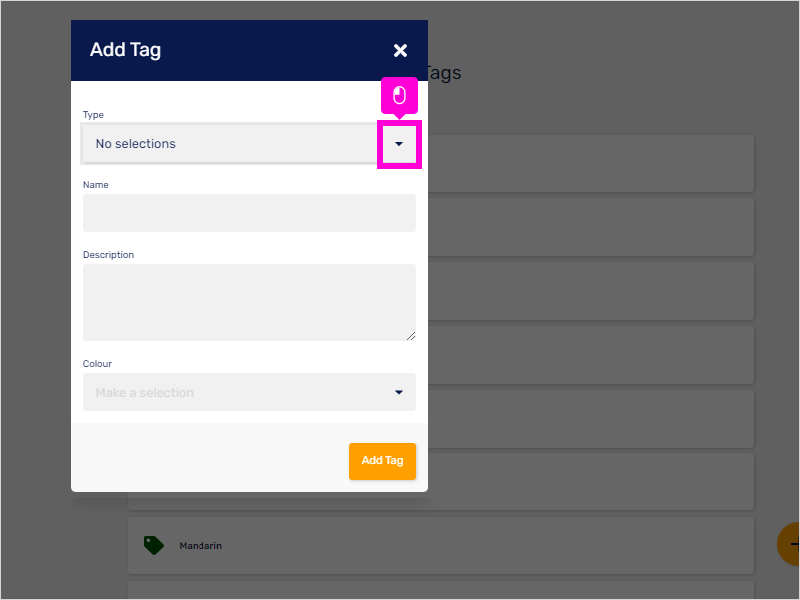
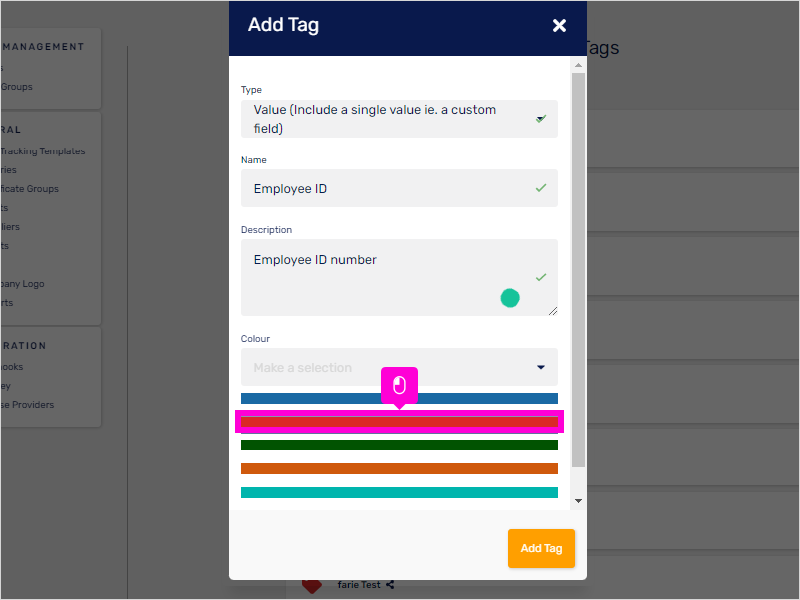
4. In the Add Tag window, select the type of tag you would like to create.
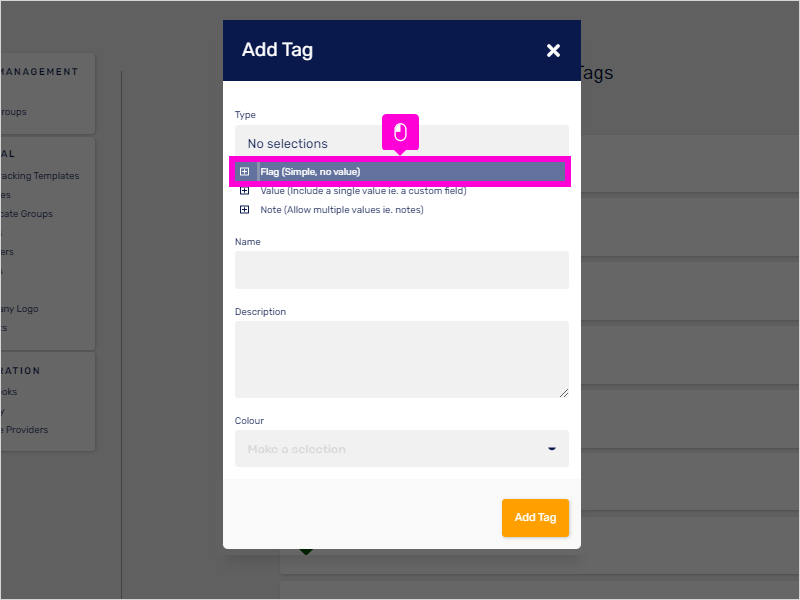
5. Type in the Name of the Tag.

6. Enter the Description in the box provided.
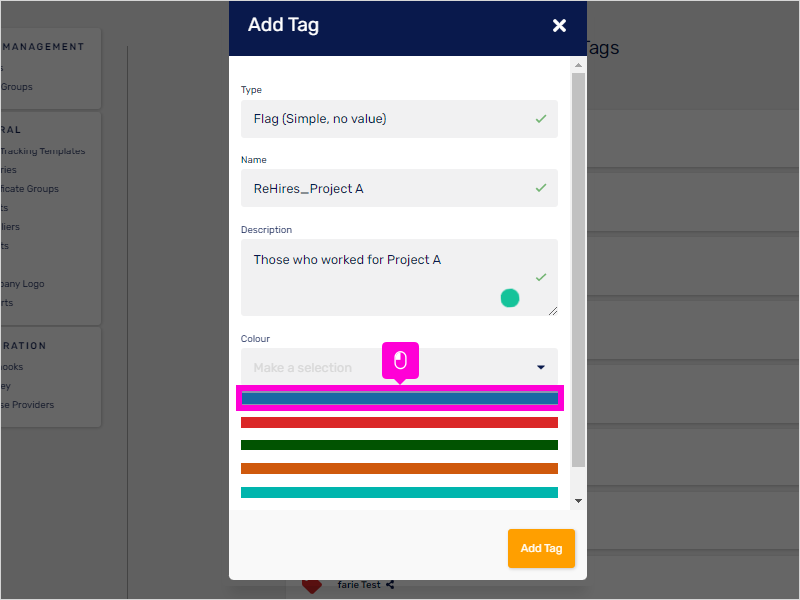
7. In the Colour drop-down, select the color you would like for the tag.
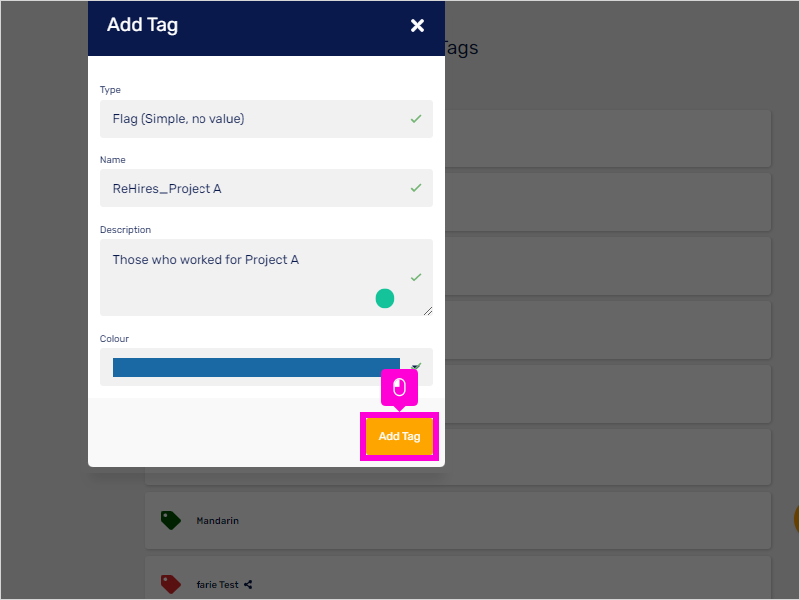
8. Click the Add Tag button to save.
9. Click the + button again, to add another Tag.
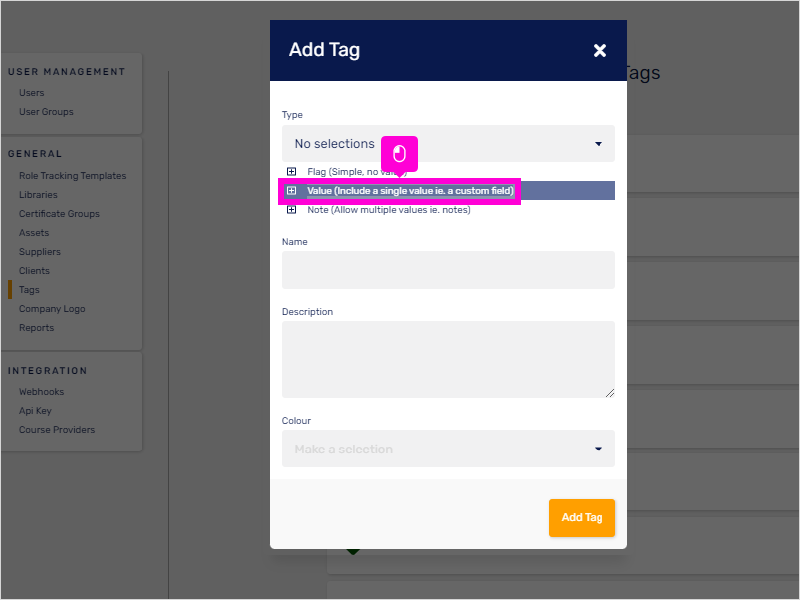
10. Click the drop-down for the selections of the type of Tag you are creating.
11. Click the particular tag type. (For this example, Value is selected.)
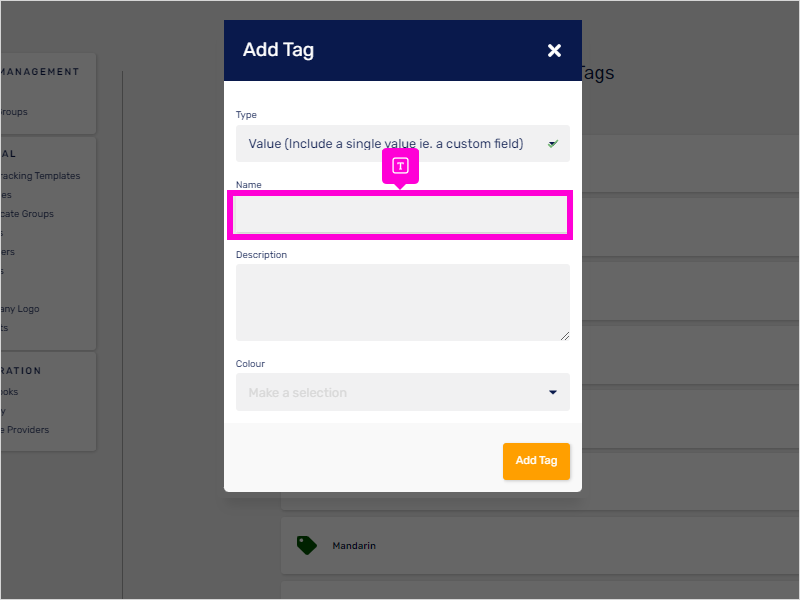
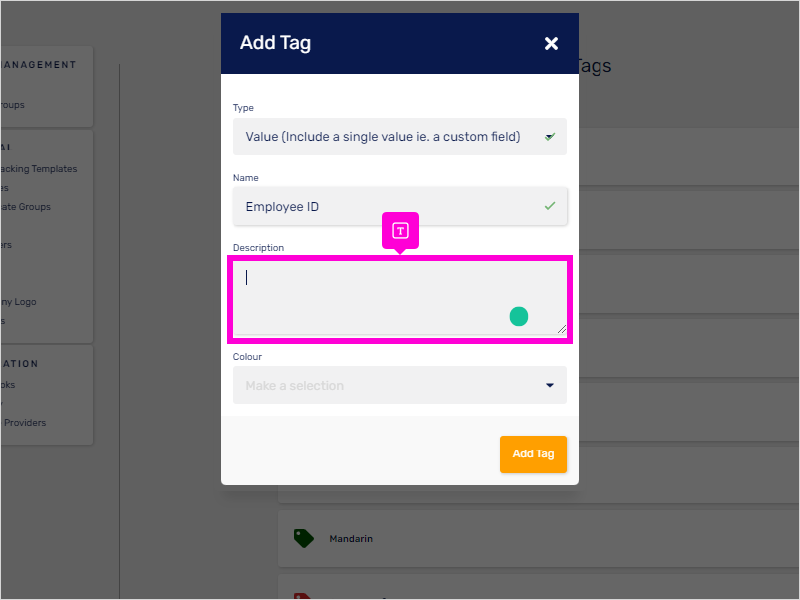
12. Type in the Name.
13. And then, the Description.
14. And select the color to identify the tag created.
15. Lastly, click Add Tag to save.

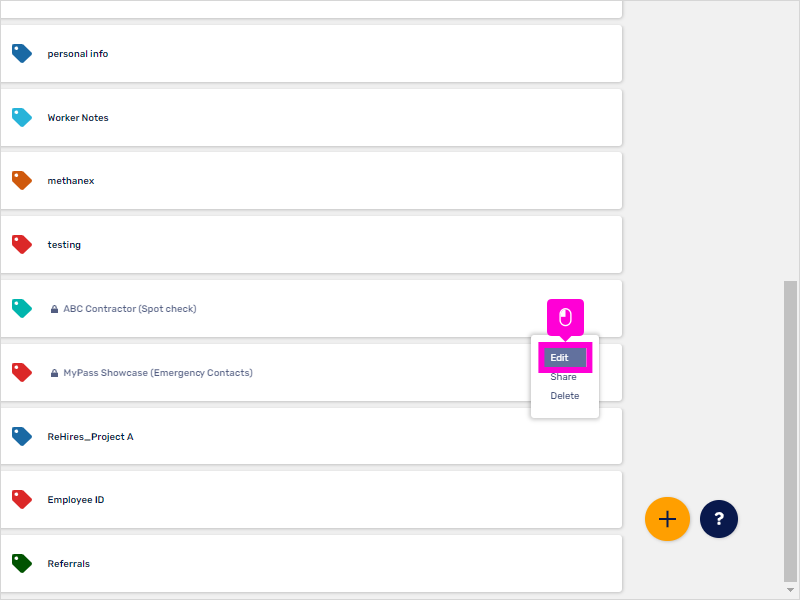
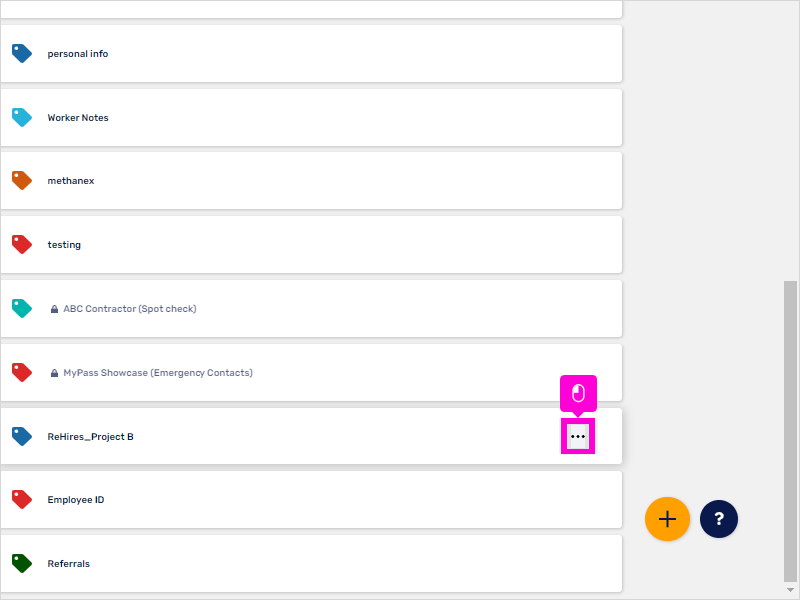
16. To edit the Tag you've created, click on the ellipsis icon (highlighted).

17. Click Edit.
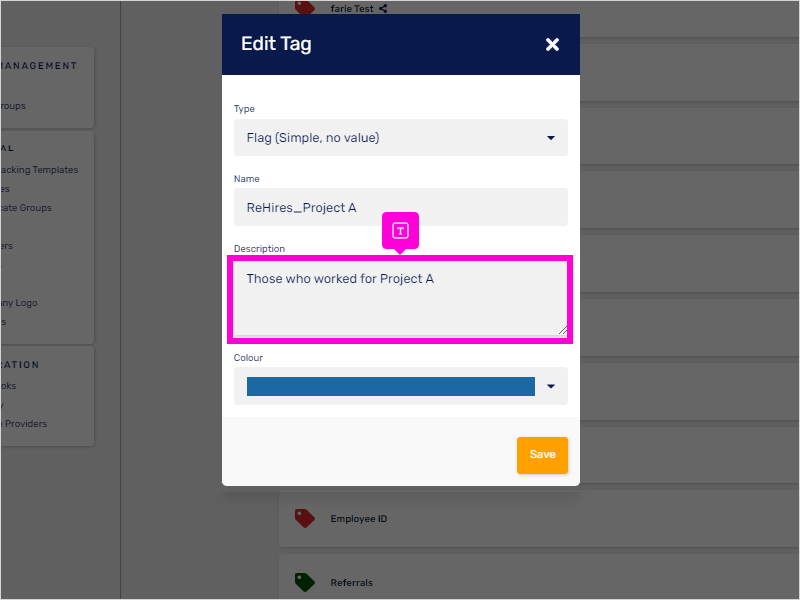
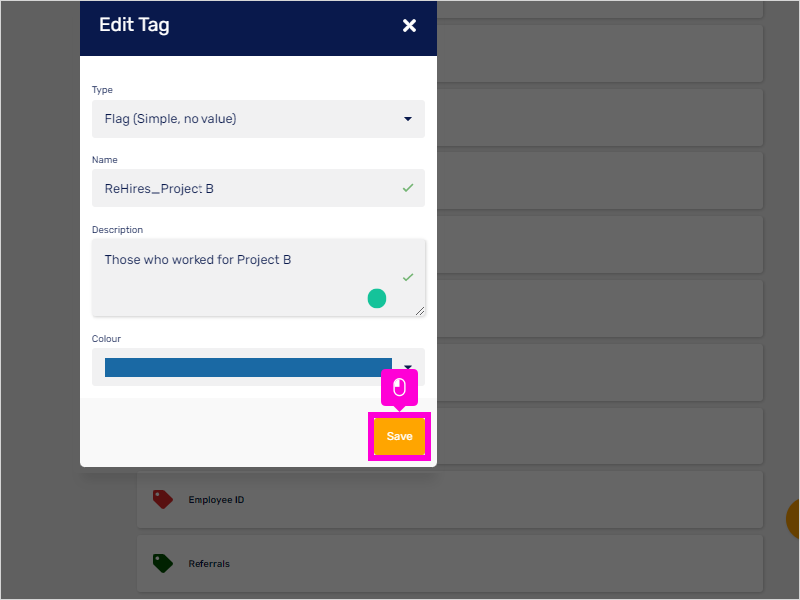
18. Enter the information you are going to change/update.
19. Lastly, click Save.
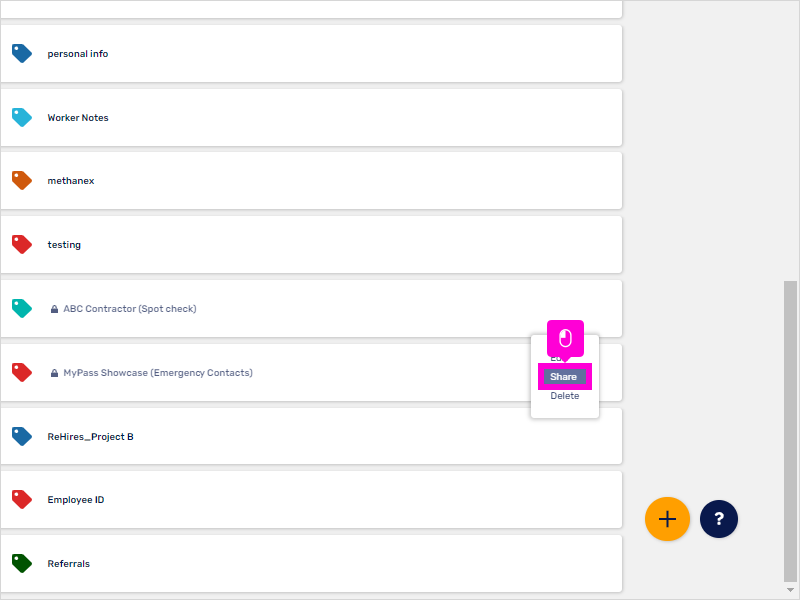
20. Now, to share the Tag to an Affiliate or Business Partner. Click on the ellipsis icon.
21. Select Share.
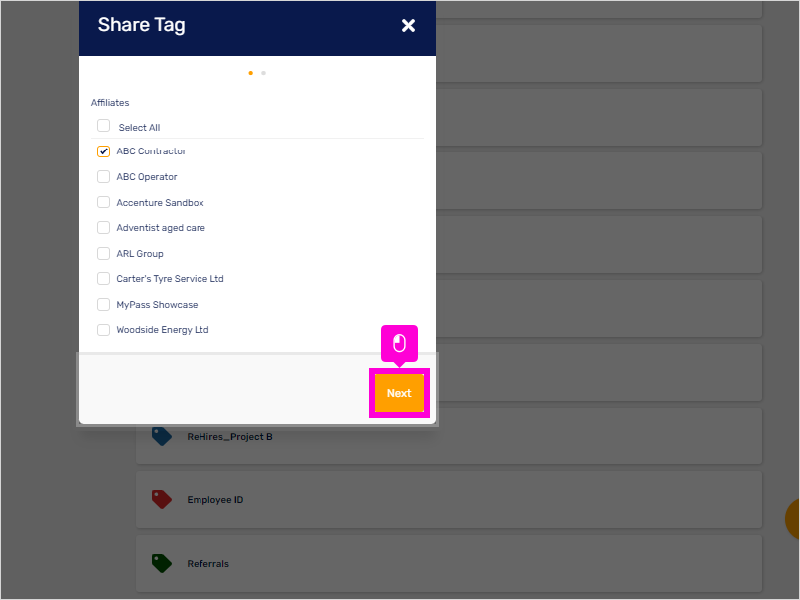
22. Tick on the box to select the Affiliate.
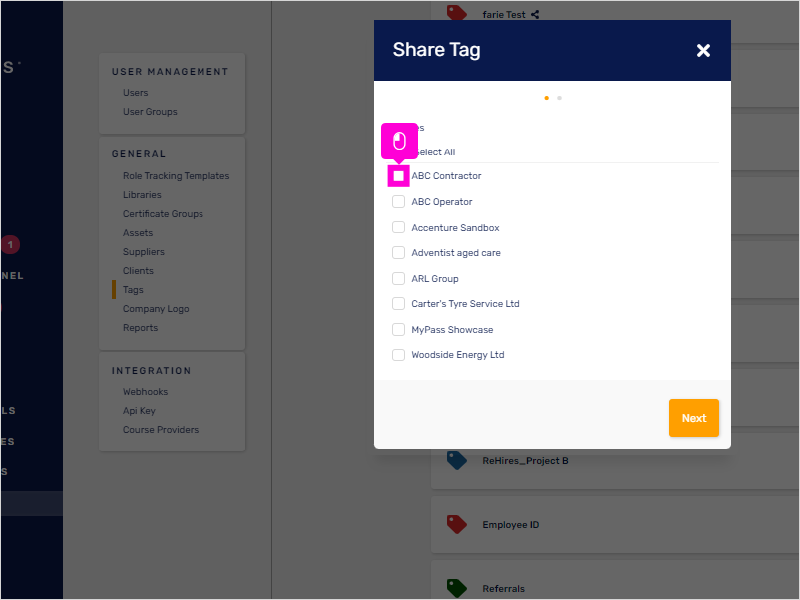
23. Click Next.
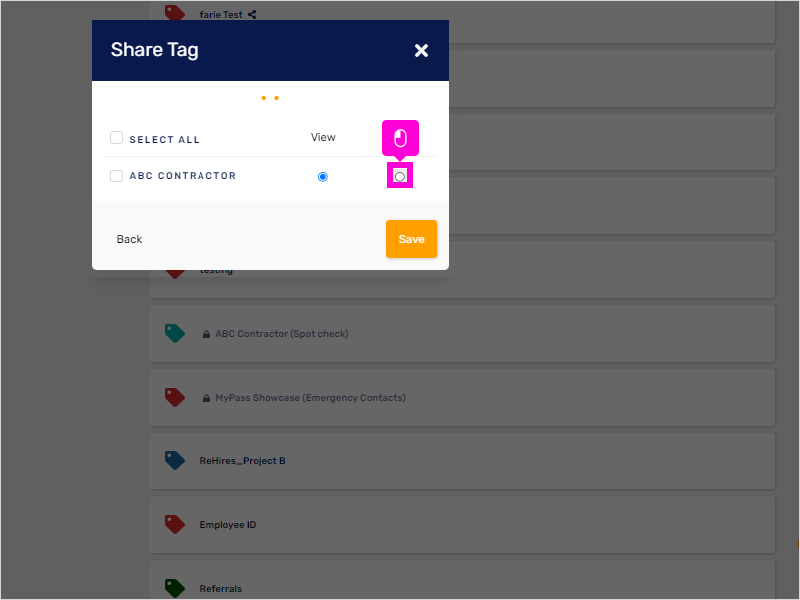
24. Here, you can choose to share it by View only.
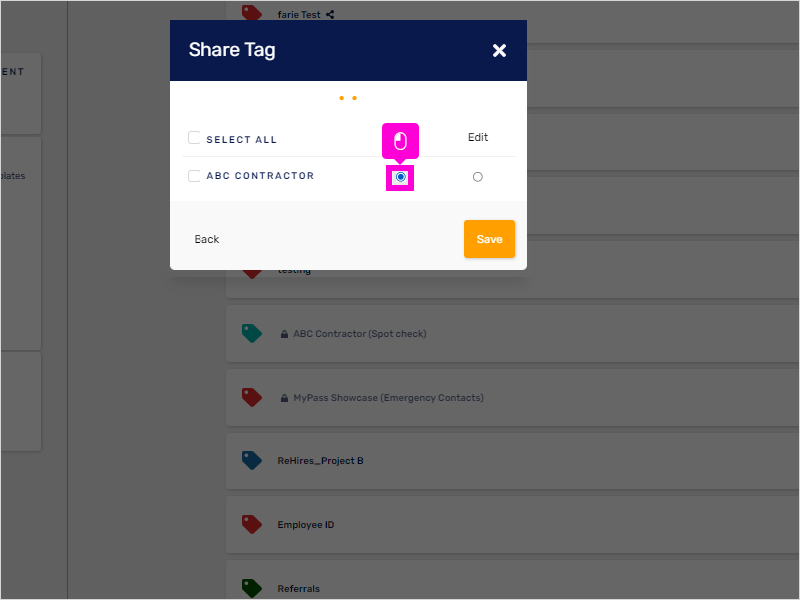
25. Or tick on the option to allow Affiliate to Edit on the Tag created.
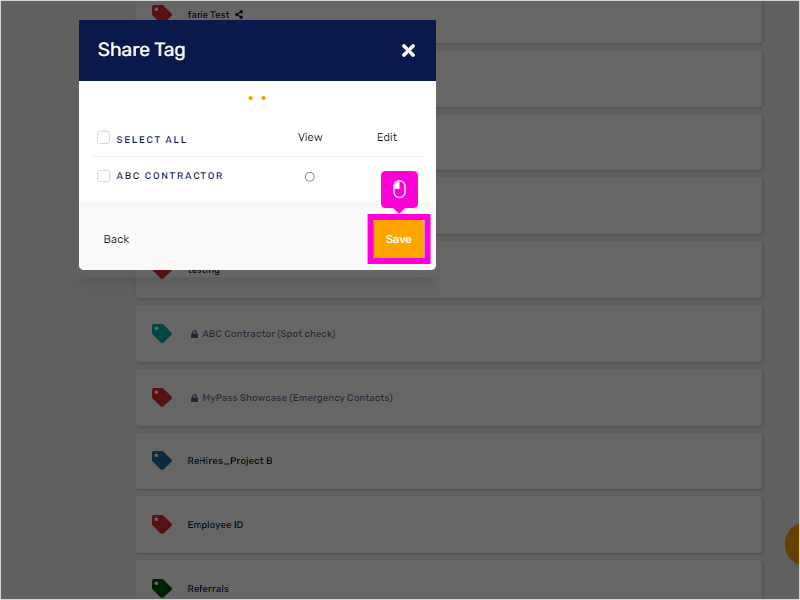
26. Finally, click Save.
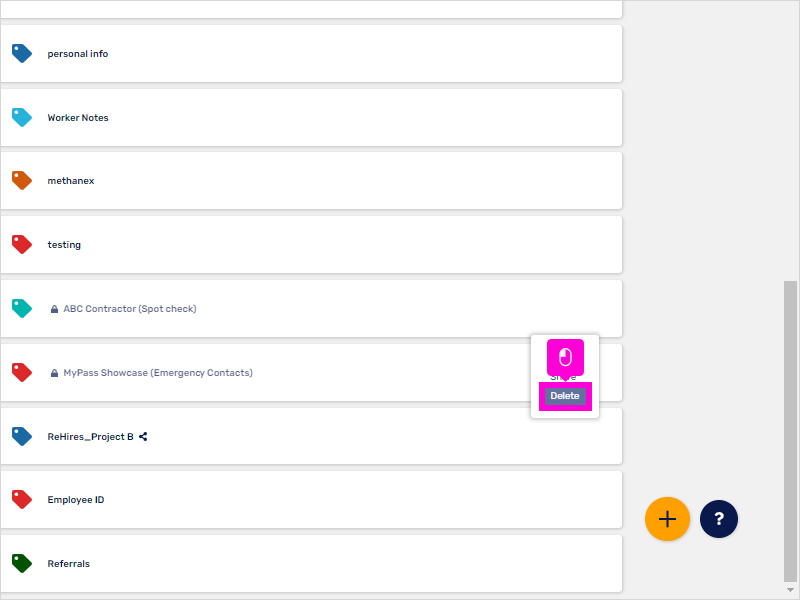
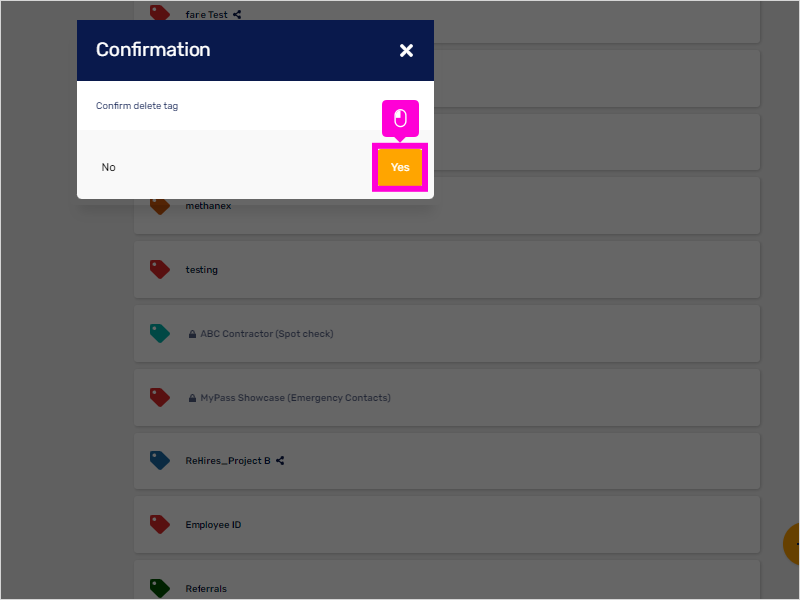
27. If you are no longer using the Tags created, you may delete them. Click on the [...] icon.

28. Click Delete from the options.
29. Click Yes to Confirm deletion.
30. That's it. You're done.
Here's an interactive tutorial
https://www.iorad.com/player/1856834/Create-Tags
