Here's an interactive tutorial
** Best experienced in Full Screen (click the icon in the top right corner before you begin) **
63 STEPS
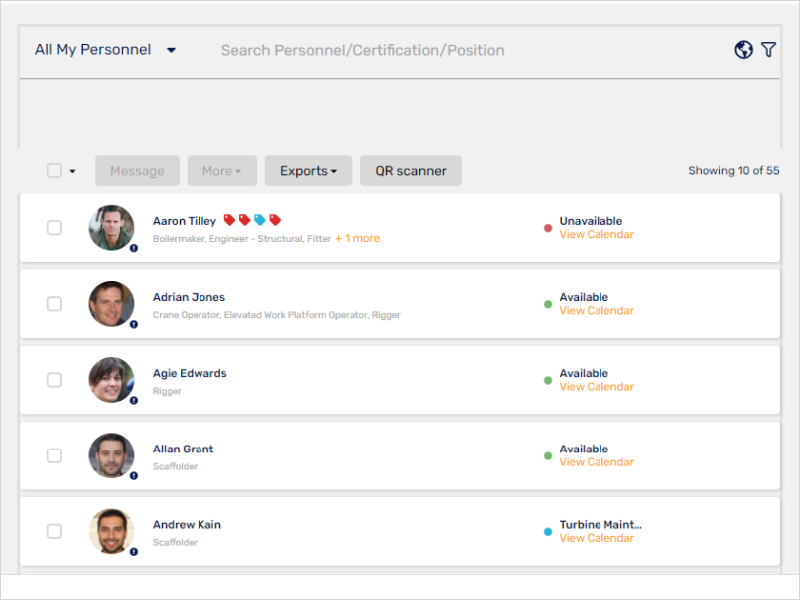
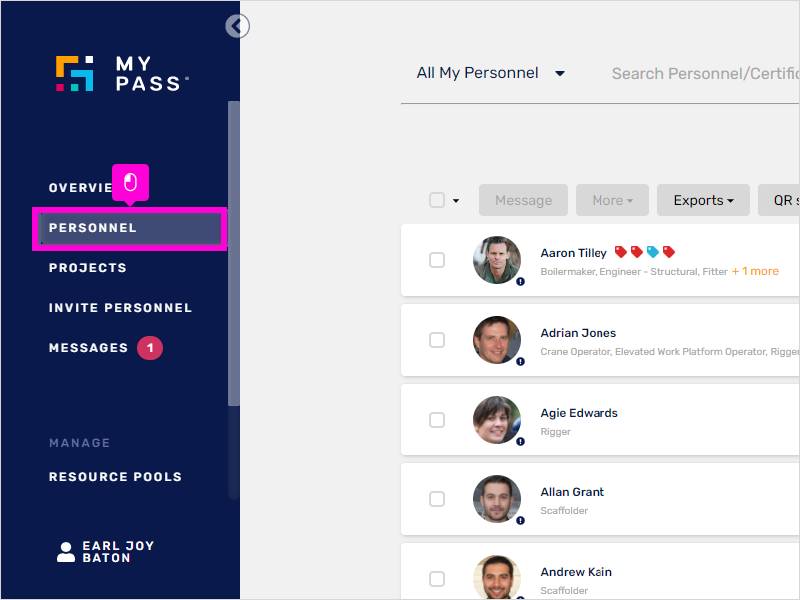
1. The first step is to open MyPass and click the Personnel tab in the left-hand corner of your screen.
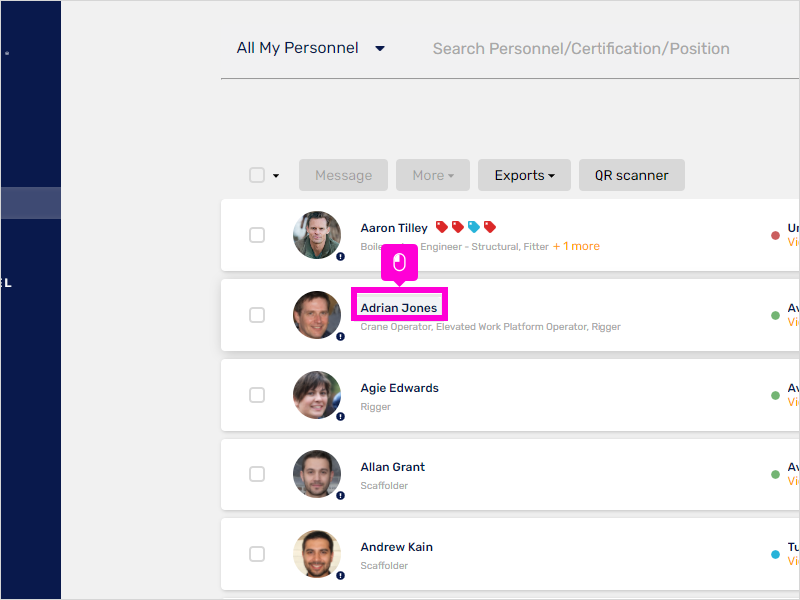
2. Click on the Personnel you would set up the account (Adrian Jones in this example).
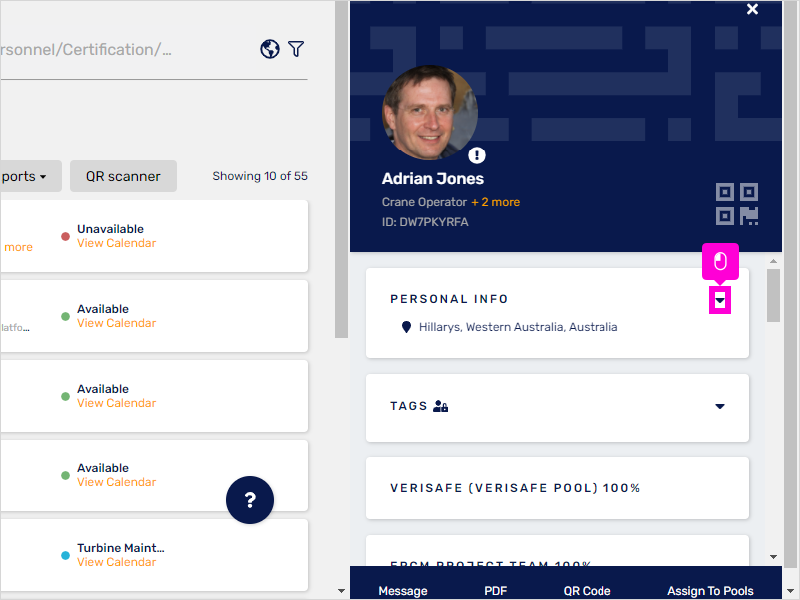
3. Click on the drop-down button to View and Edit his personal info.
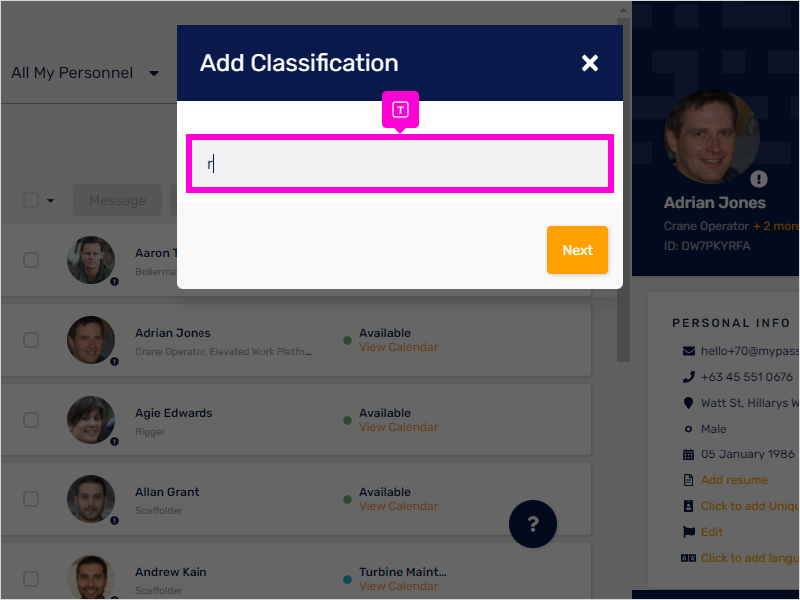
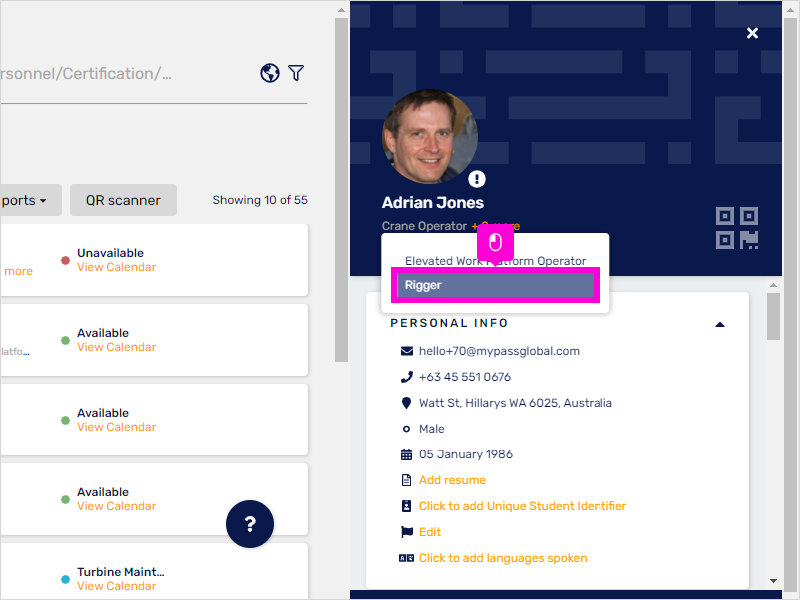
4. To add the personnel's classification/job role, click on the Add button.

5. Type in the Classification.
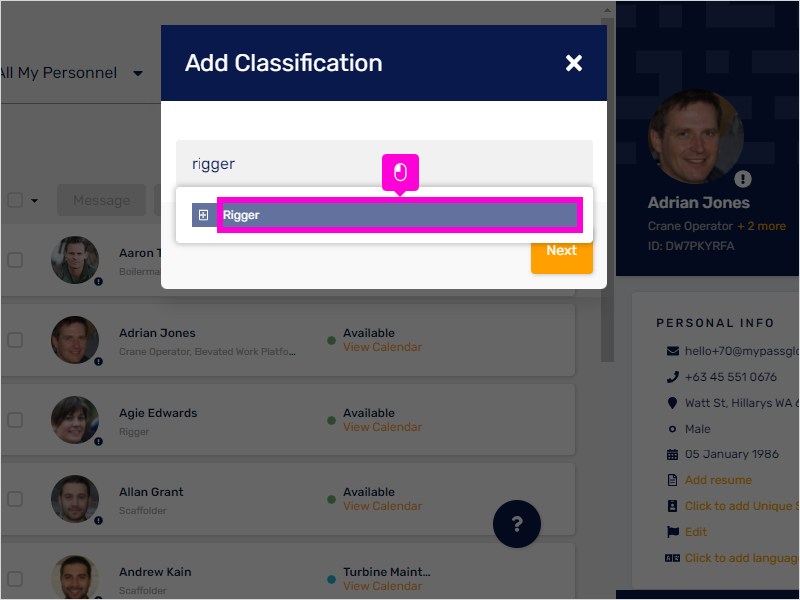
6. Click Rigger to select.
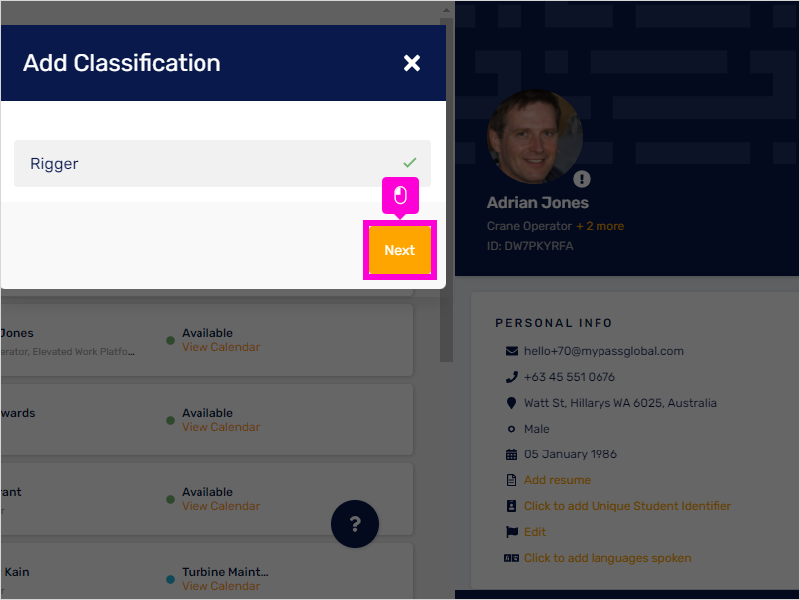
7. Then, click Next to Save.
8. Click + 2 more icon to check if the classification was successfully added.
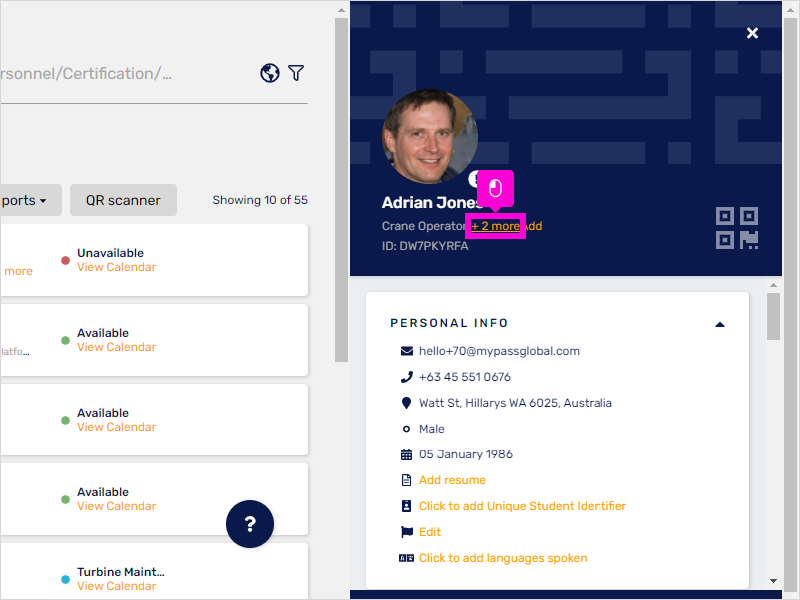
9. Now it is showing here.
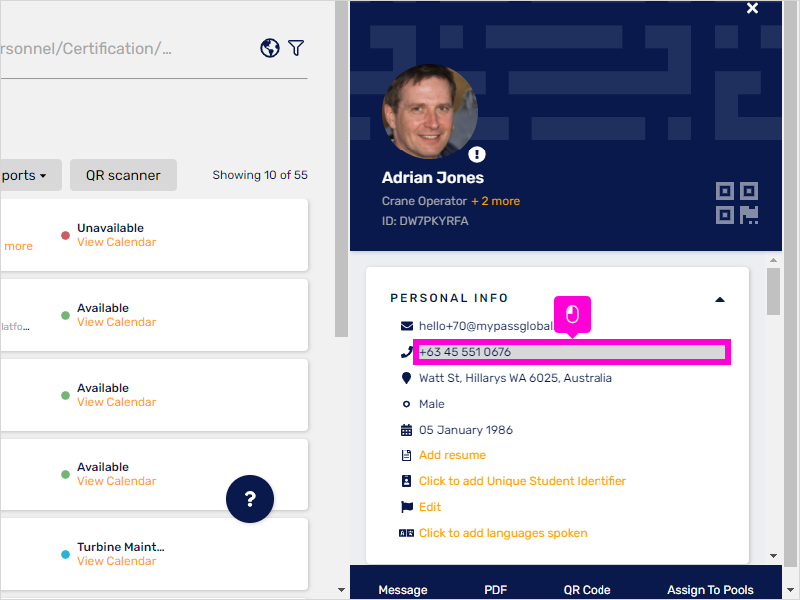
10. To edit a personnel's phone number, click this part where the phone icon is.
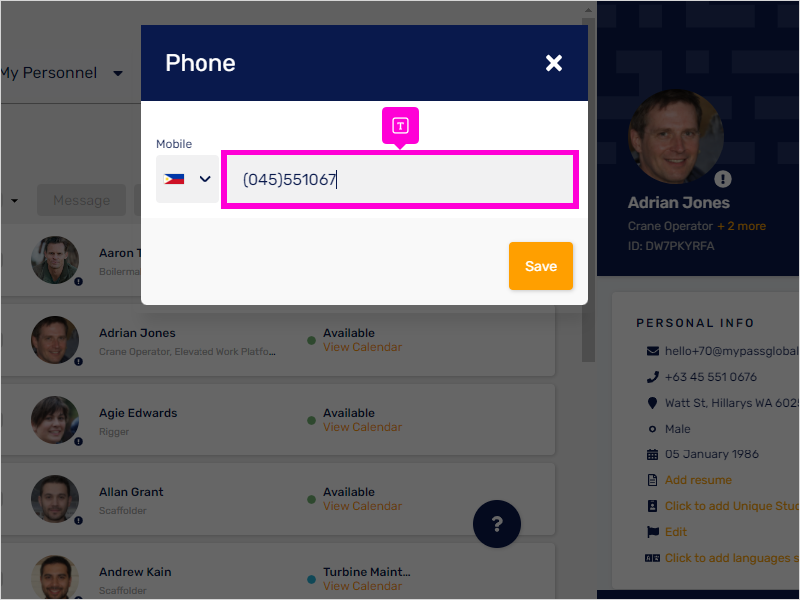
11. Input the number details.
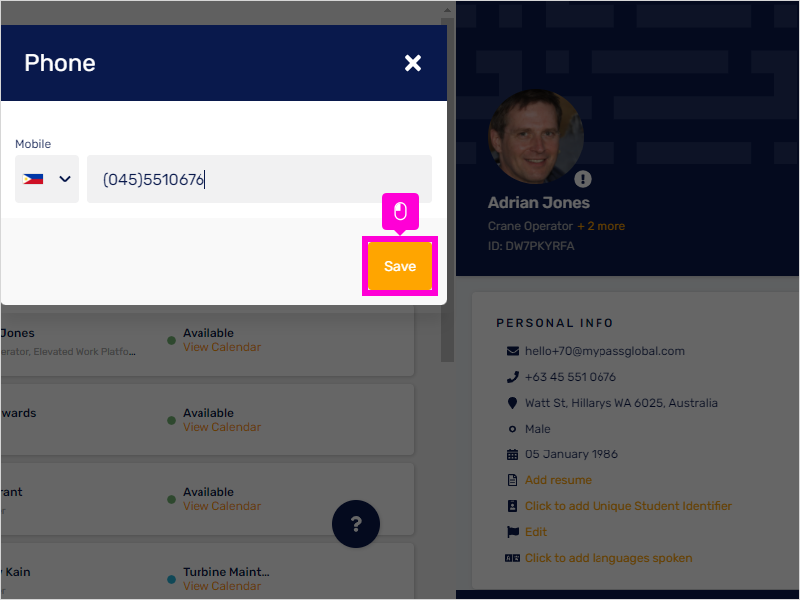
12. Click Save.
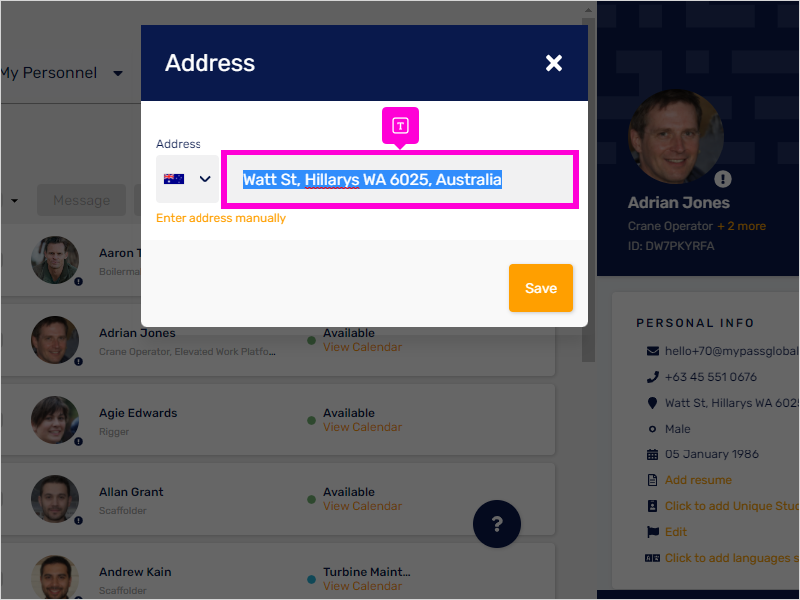
13. To enter/update his address, click on here (highlighted).

14. Type in the Address.
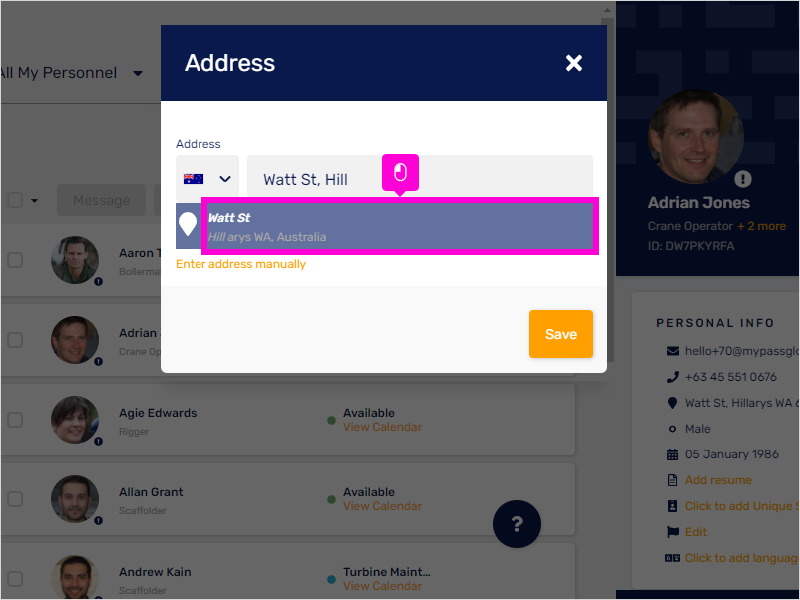
15. Click on the search result that matched the personnel's address. (Watt St as highlighted).
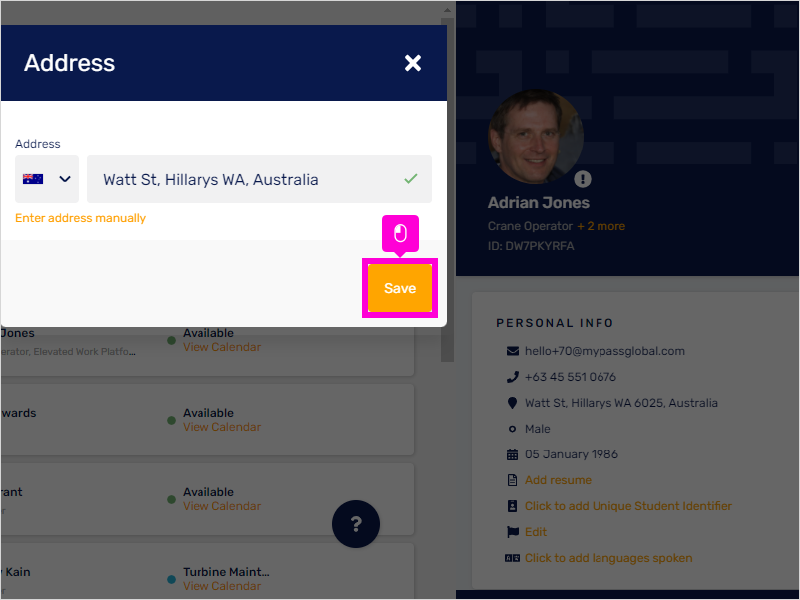
16. Lastly, Save.
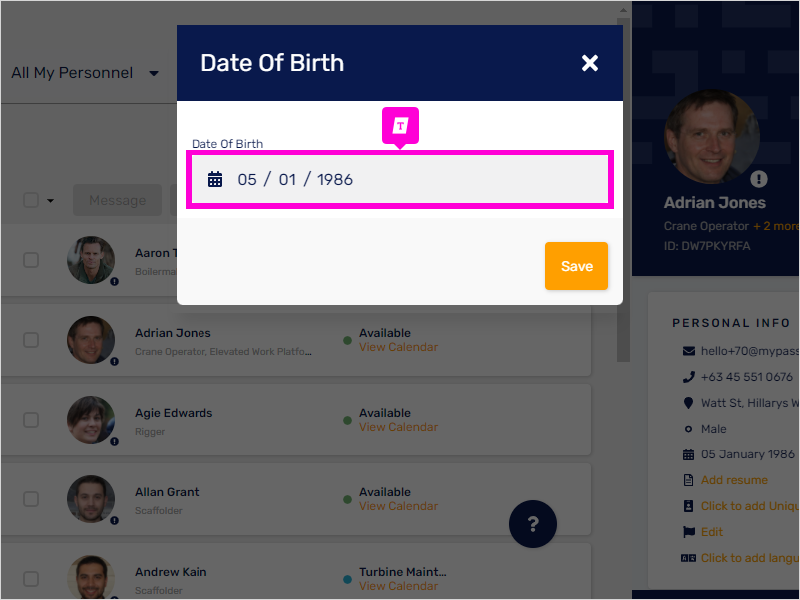
17. If you need to make changes on the date of birth, click here to do so.
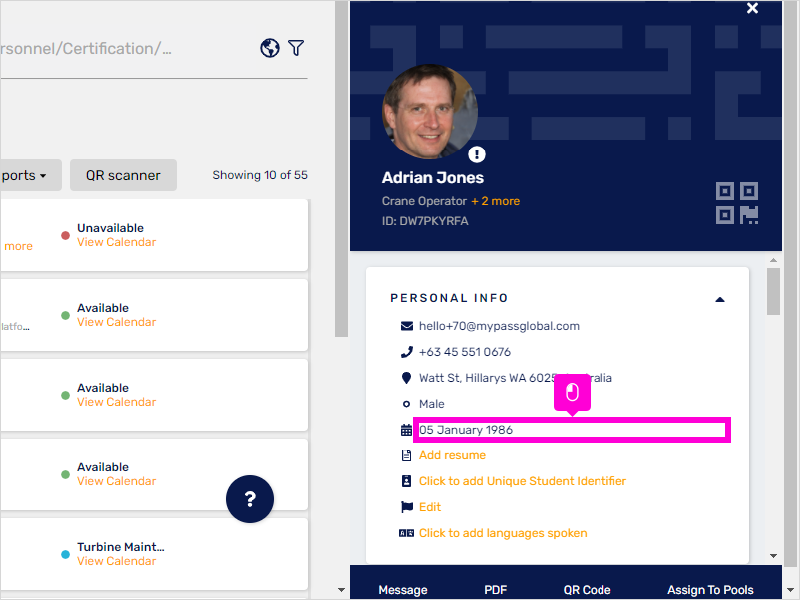
18. Input the Date of Birth in this format (dd/mm/yy).
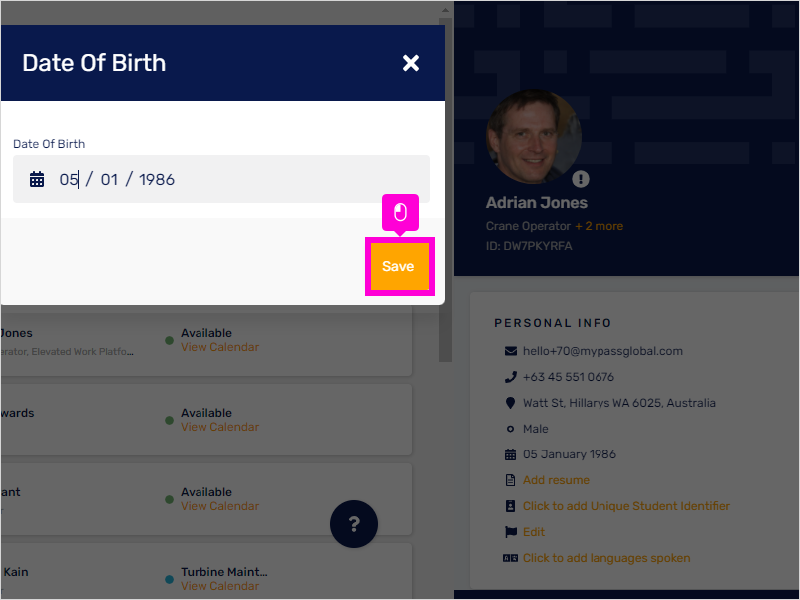
19. Click Save.
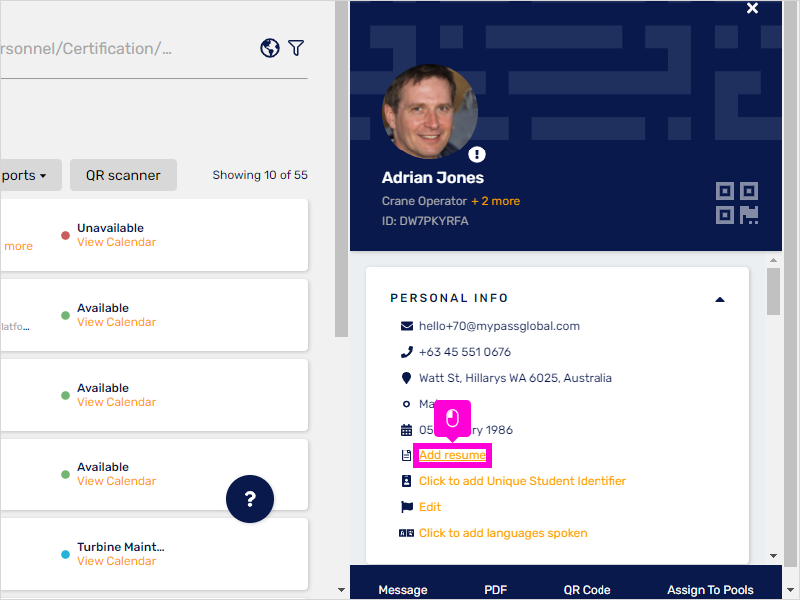
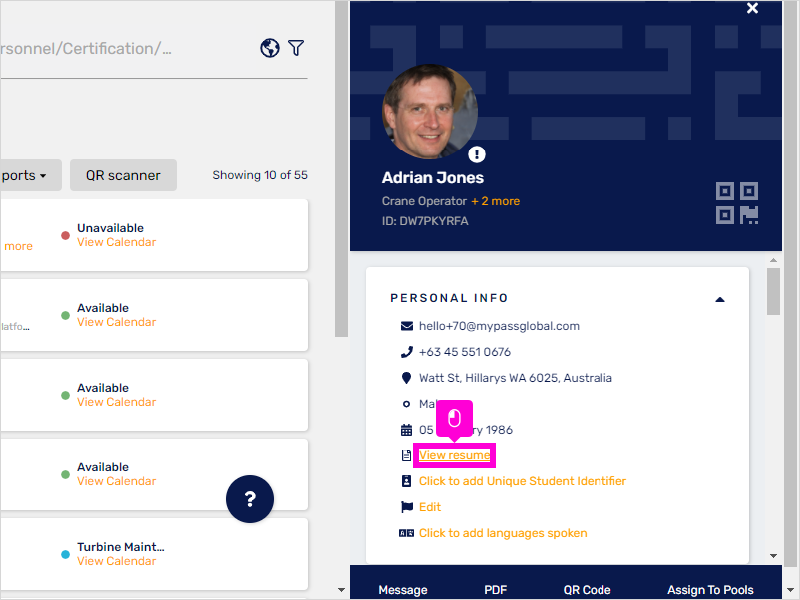
20. Add resume here.
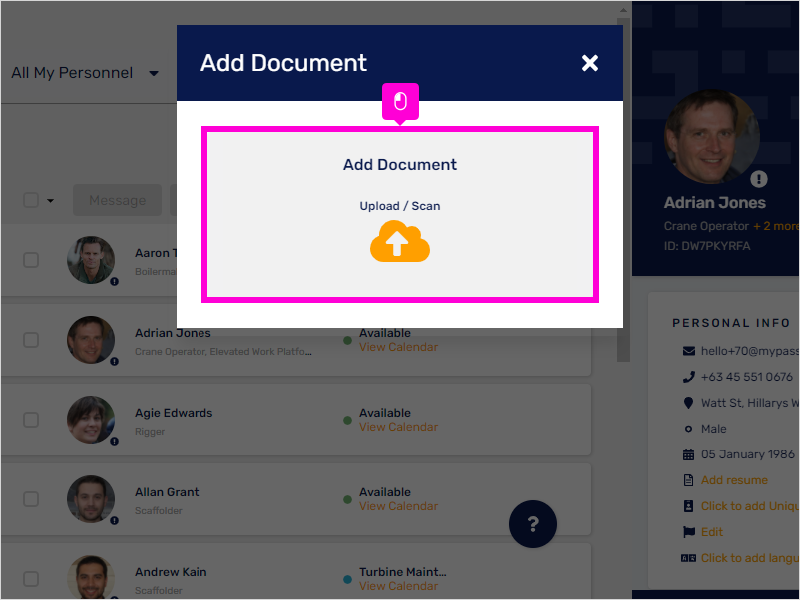
21. Click Add Document to upload resume.
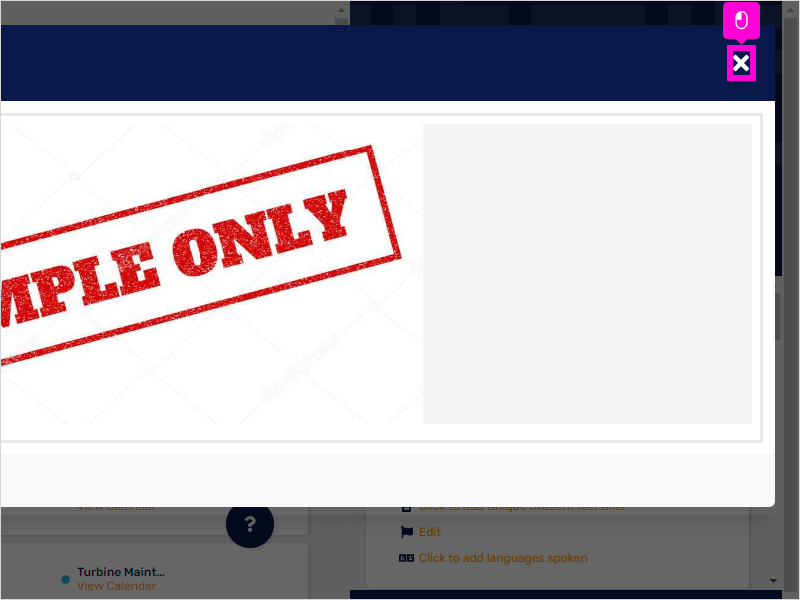
22. When it shows View resume, this means the Resume has been added successfully. You may click on it to View.
23. This is where the Resume will show. Click X to exit view.
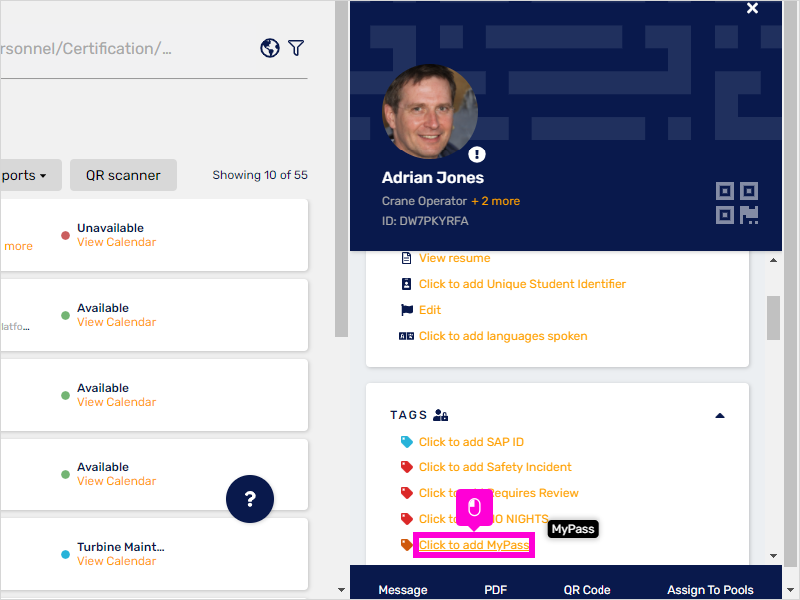
24. In adding tags, click on the drop-down button next to Tags.
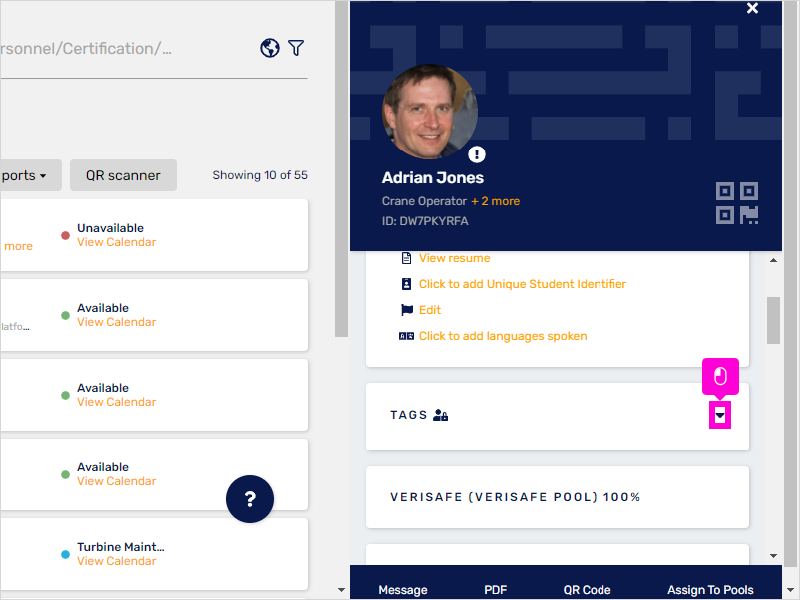
25. Click the tag you would like to add.
26. Now the Tag has been added.

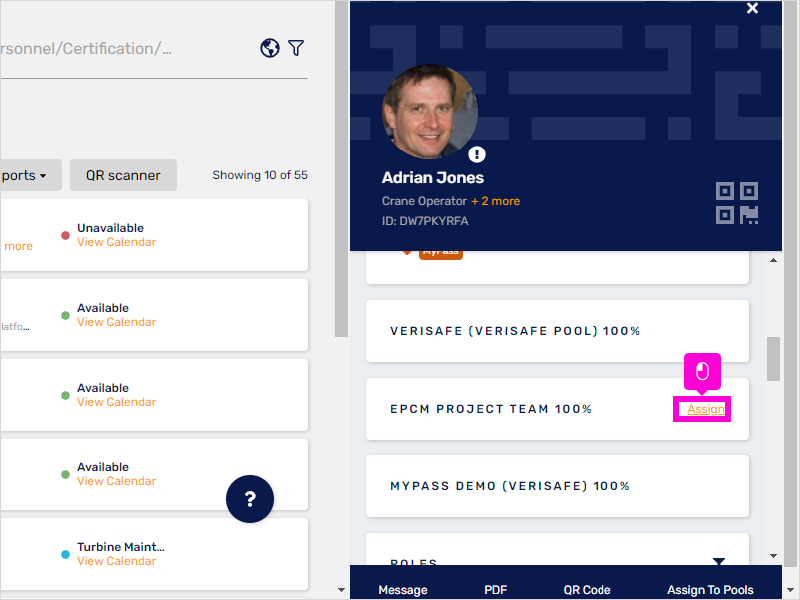
27. In assigning a compliance position to your personnel, click the Assign button next to the Project Name.
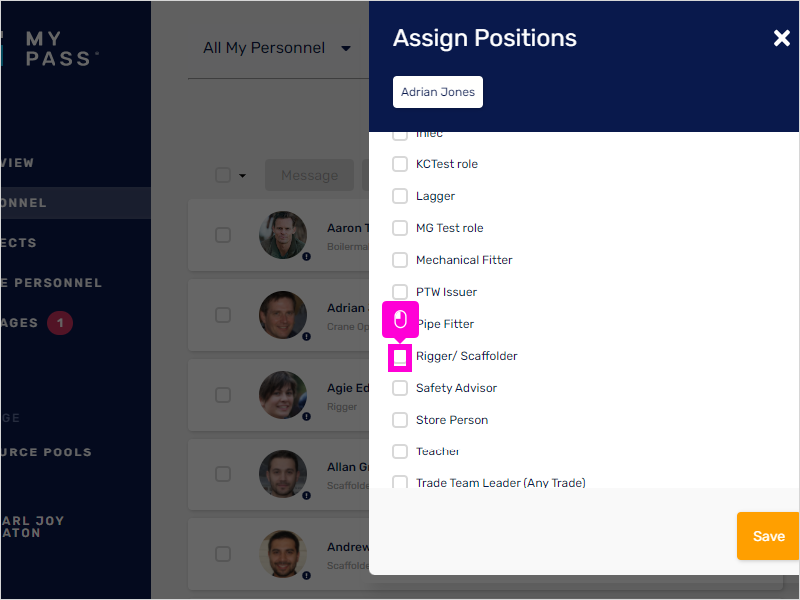
28. Tick the box for the position you are adding.
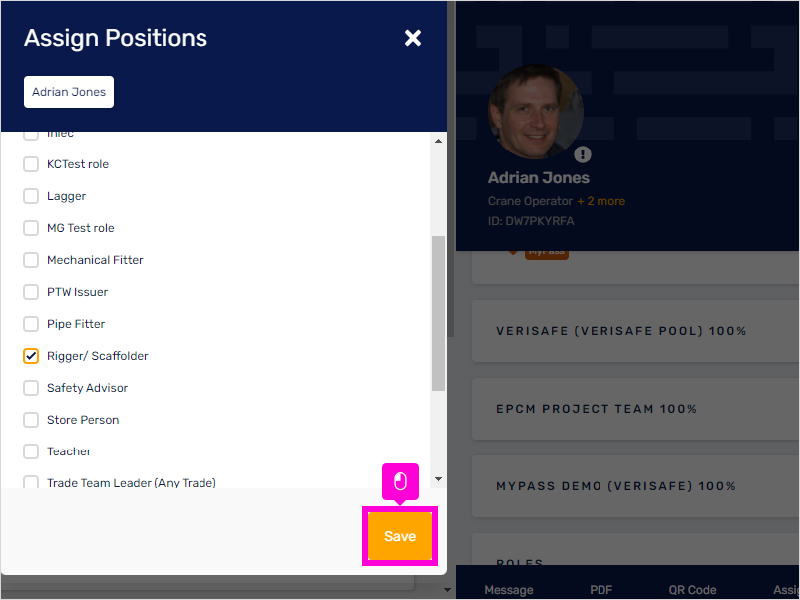
29. Click Save.
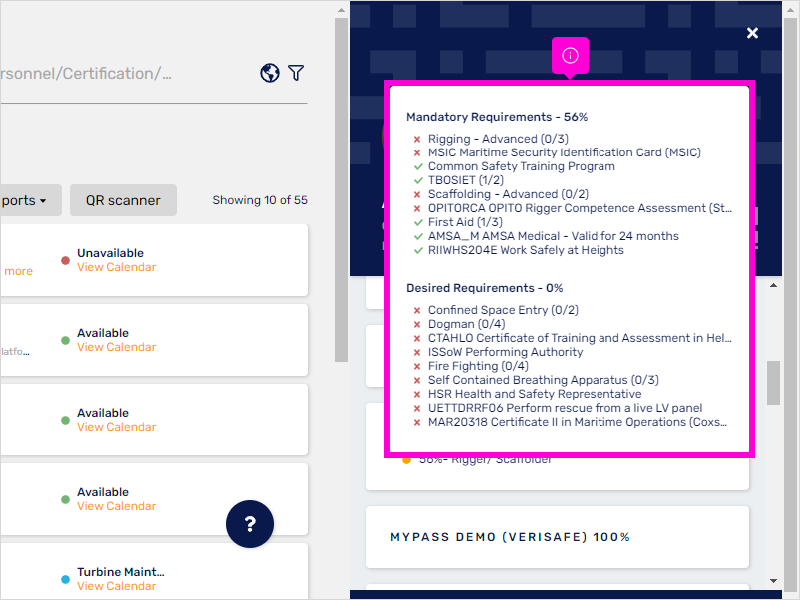
30. The Compliance Position is now showing. The percentage is how compliant the worker/personnel is.
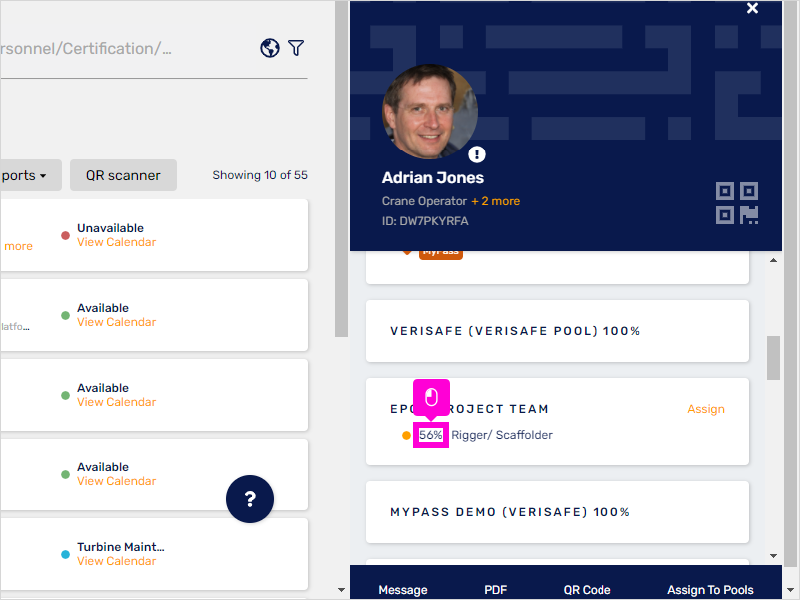
31. Click on the percentage. This will show you the Mandatory Requirements the personnel needs to complete for him to be 100% compliant. It also shows the Desired requirements for the job role.
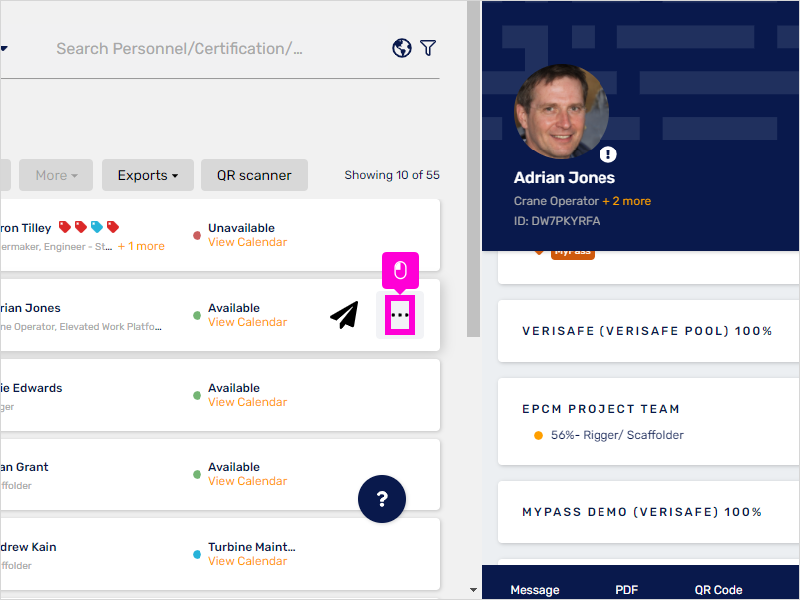
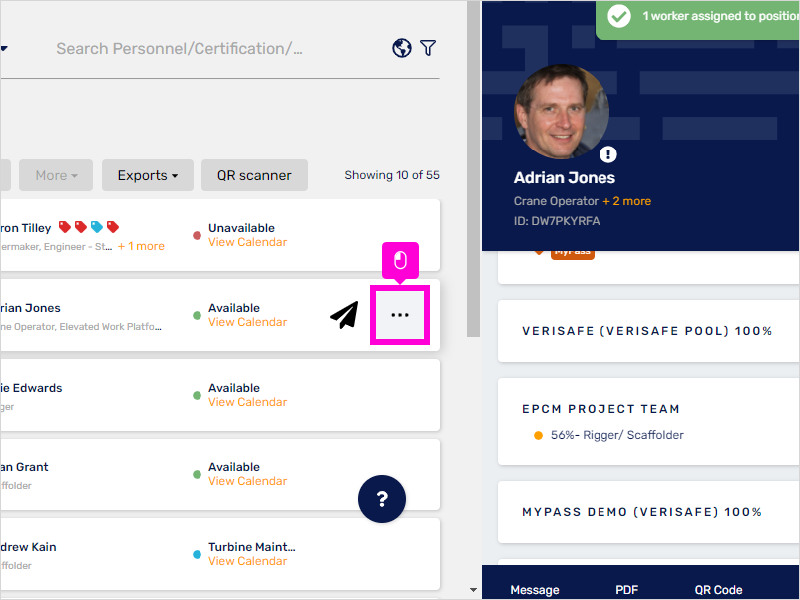
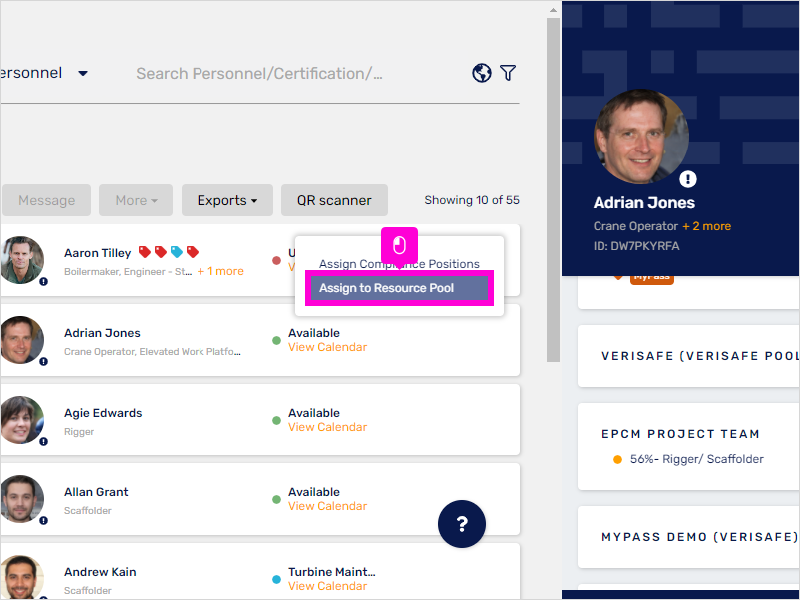
32. You may also assign compliance position to a worker by clicking on the ellipsis icon on the right side corner of his name.
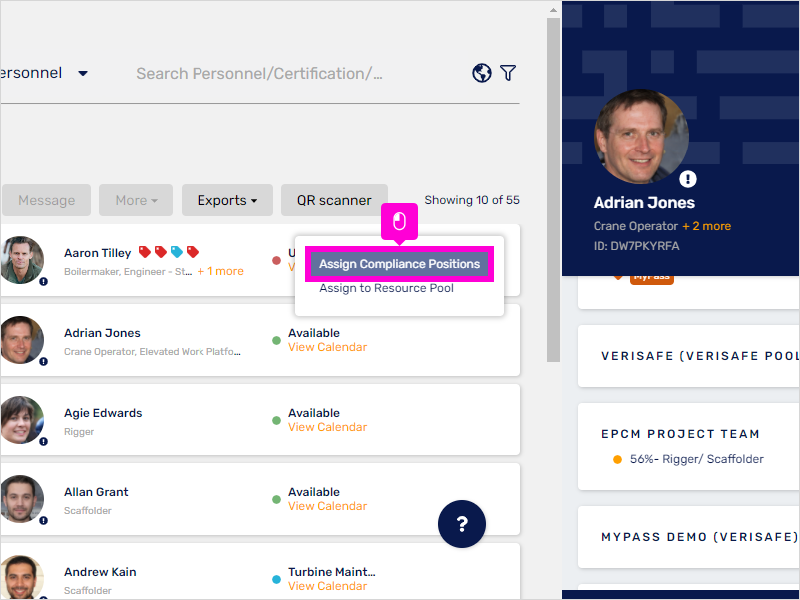
33. Click Assign Compliance Positions.
34. Click drop-down to show selections.
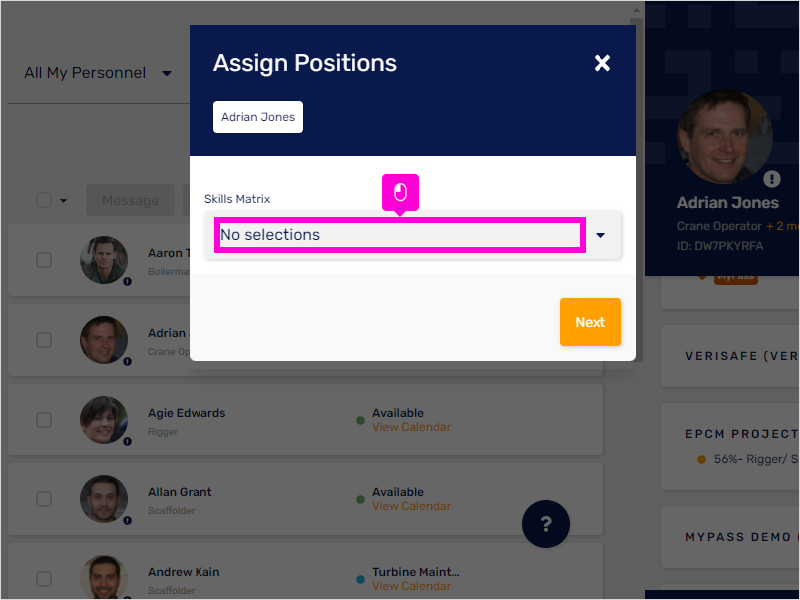
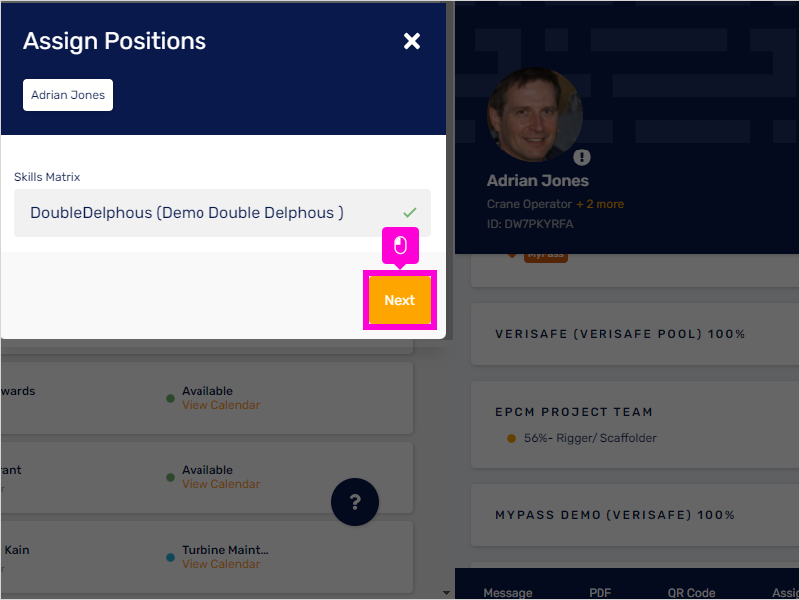
35. Click on the Matrix you would like to be added.
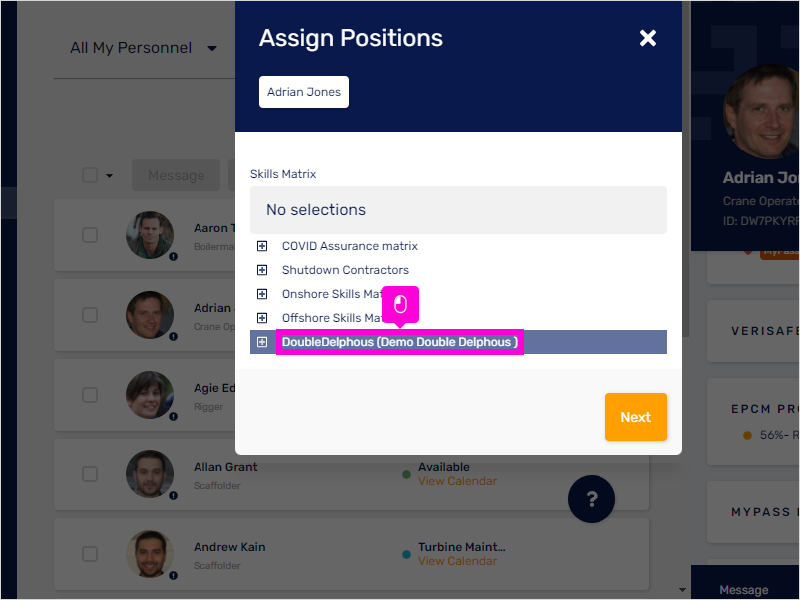
36. Click Next
37. Click on the tick box marking the Compliance position to be added.
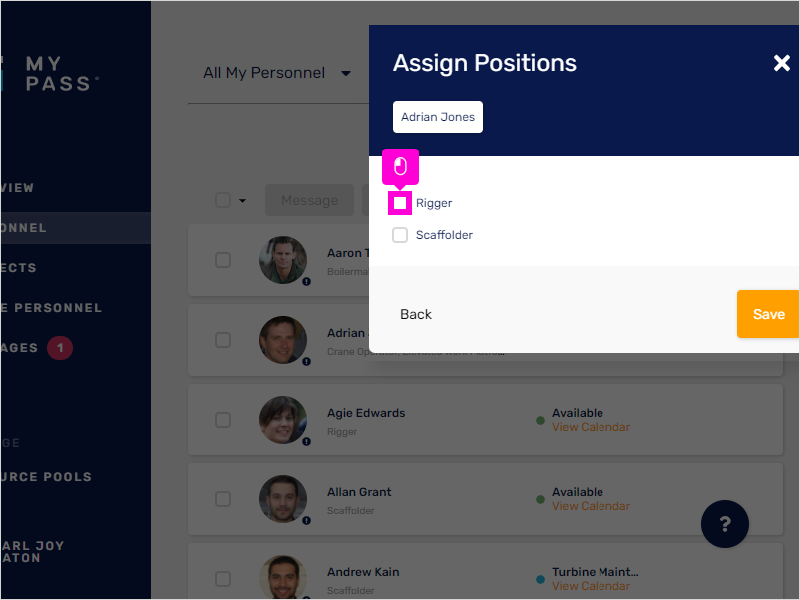
38. Finally, click Save.

39. To add personnel to a Resource Pool,
click on the ellipsis icon.
40. Click Assign to Resource Pool.
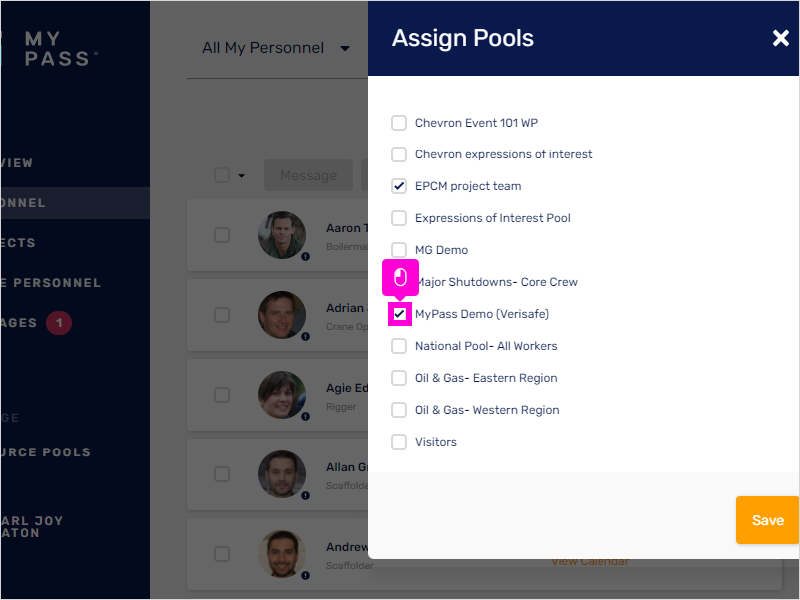
41. Tick the Resource Pool you would want the personnel to be added.
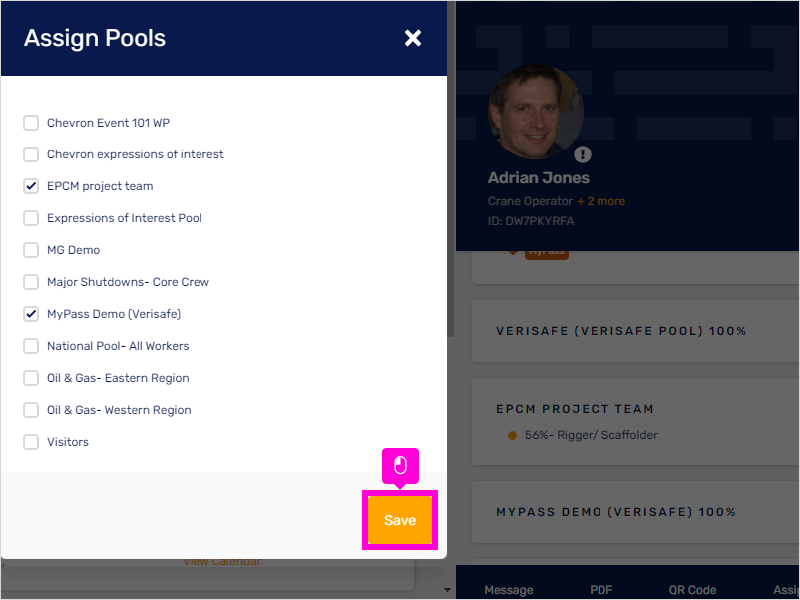
42. Click Save.
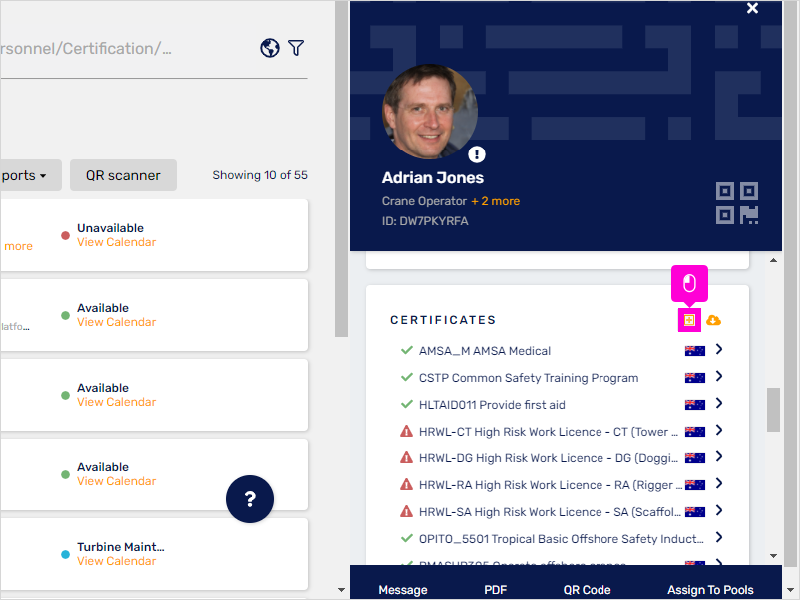
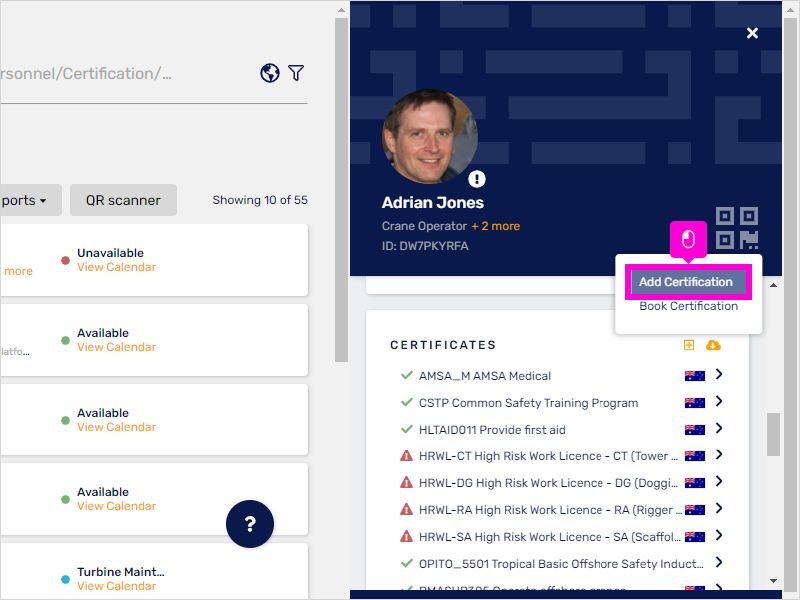
43. This is how you add Certifications to a Personnel's profile.
Click on the + sign next to Certificates.
44. Click Add Certification.
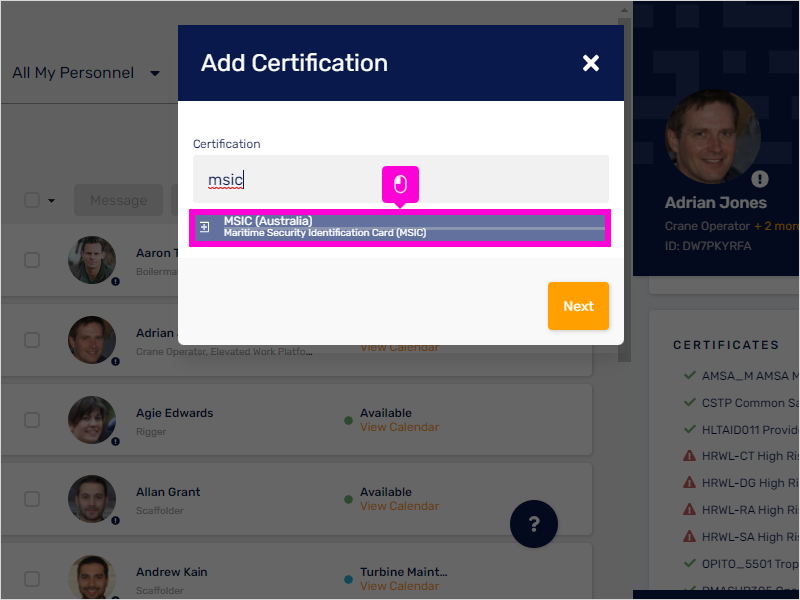
45. Type in the box to search for the Certification name.

46. Click on the (highlighted) search result of the Certification to select.
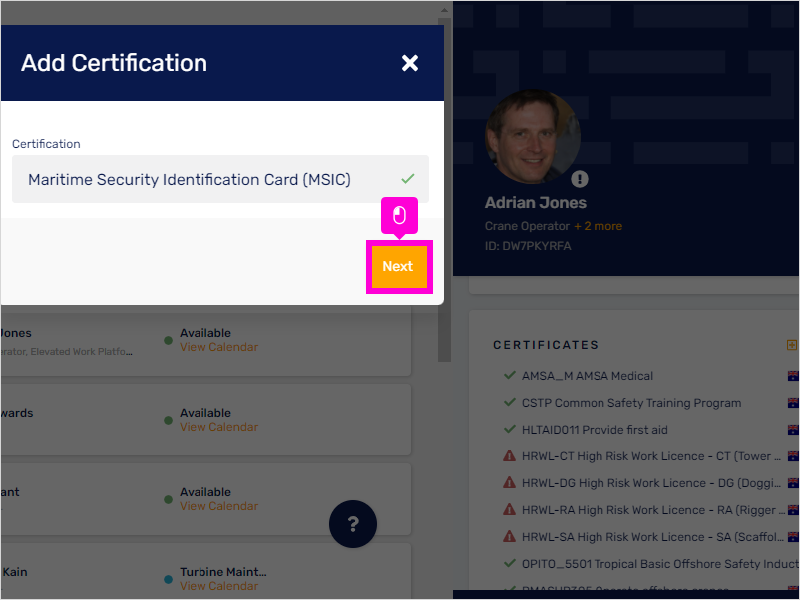
47. Click Next.
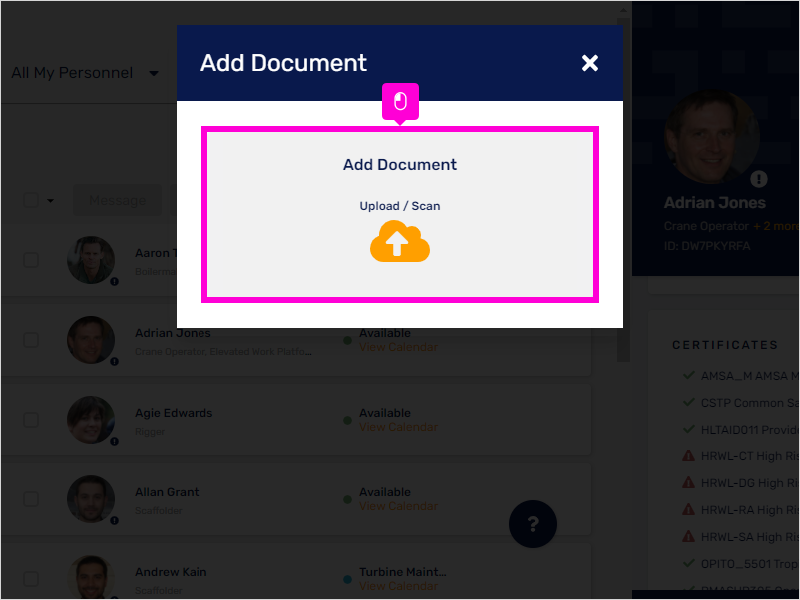
48. Click Add in the Documents-Add Certification window.

49. Click Add Document/Upload/Scan to upload a document for evidence.
50. Once the document is uploaded, click Save.

51. The Certification has been added. You may click on the arrow button next to the Certificate name to view it.
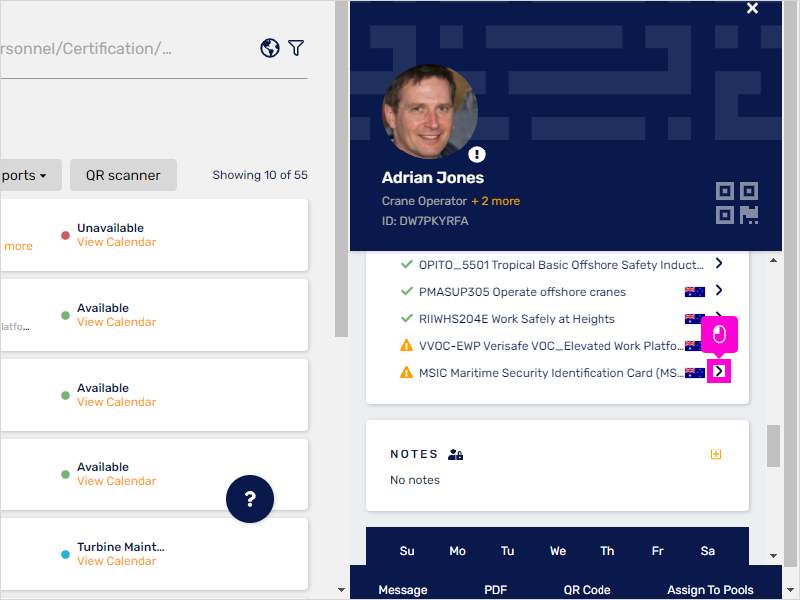
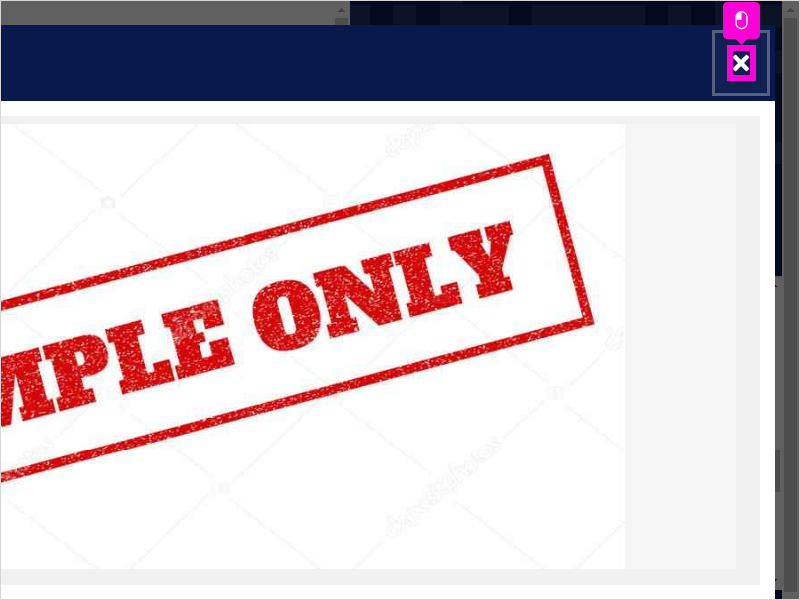
52. This is where the Certificate is shown. Click the X button to exit view.
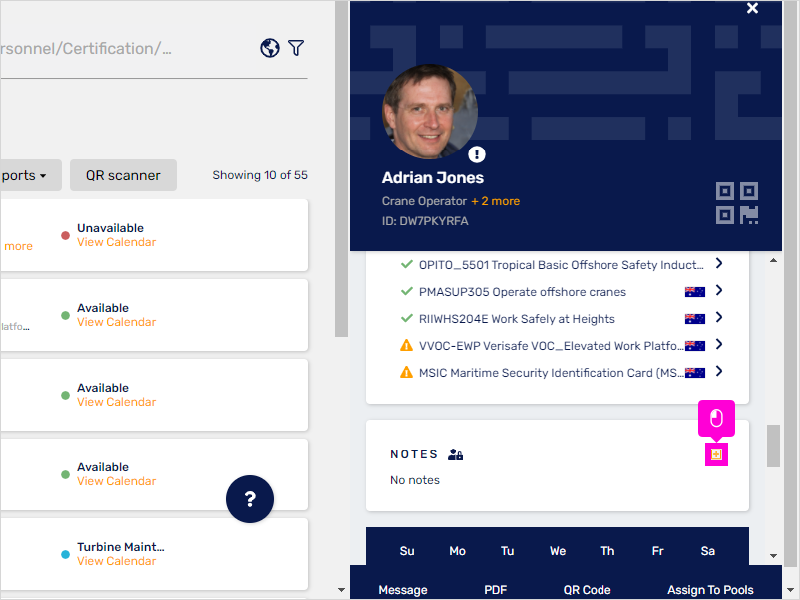
53. Adding Notes to a personnel.
Click on the +/add button to the right side of Notes.
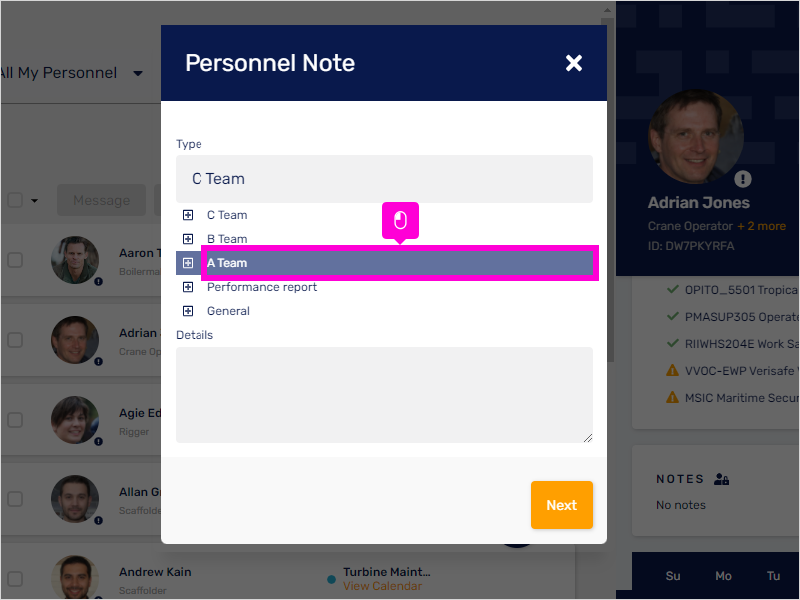
54. Click drop-down for the selection.
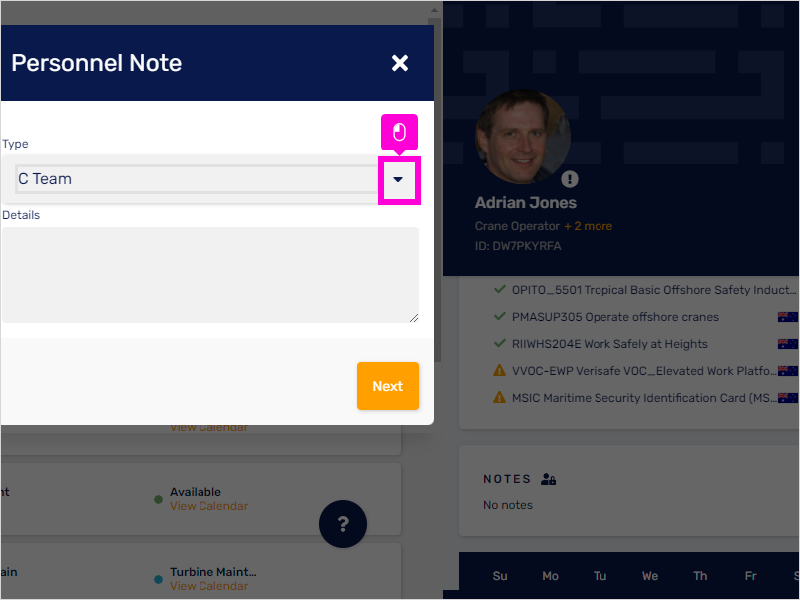
55. Select the Note Template you would like this added to.
56. Type in the Details.
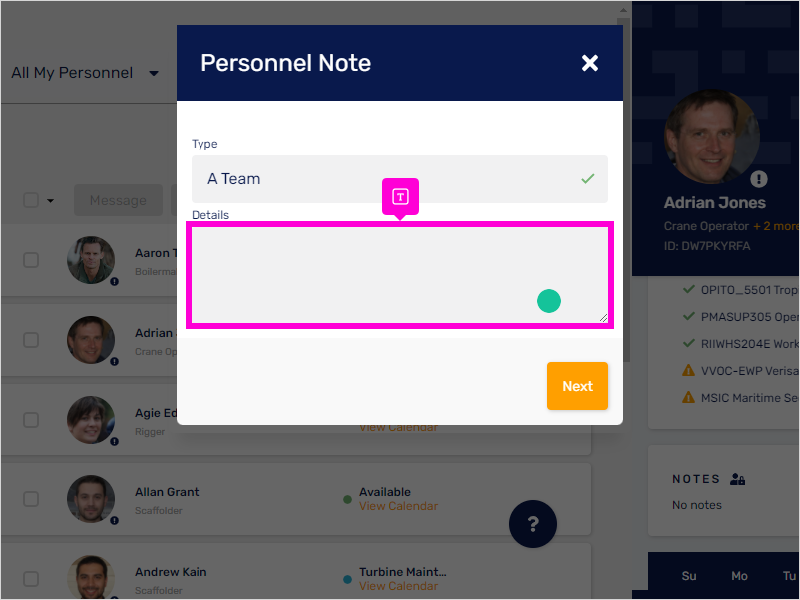
57. Click Next.

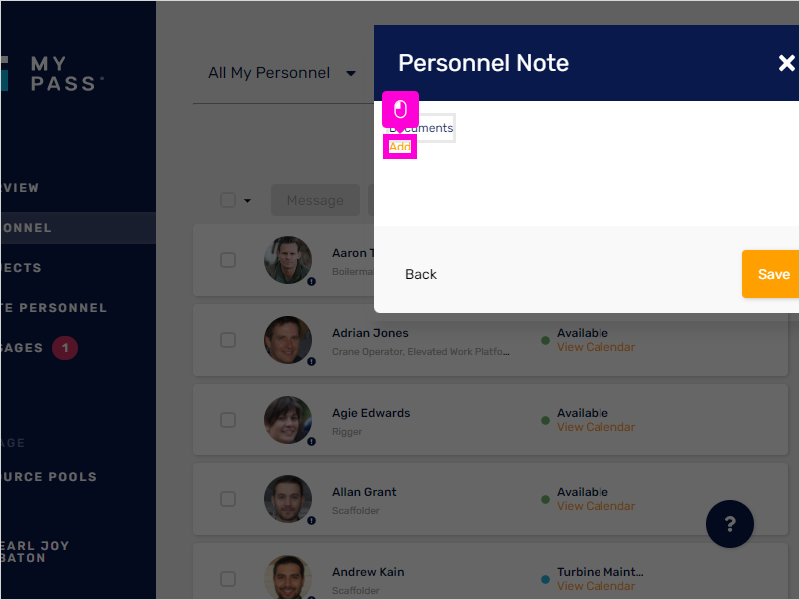
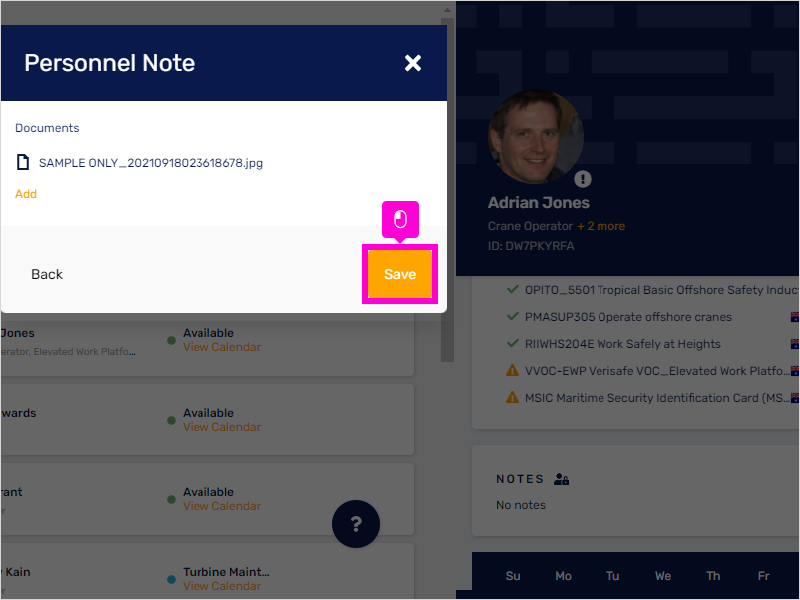
58. Click Add to add a document relevant to the Note.
59. Upload the document file.
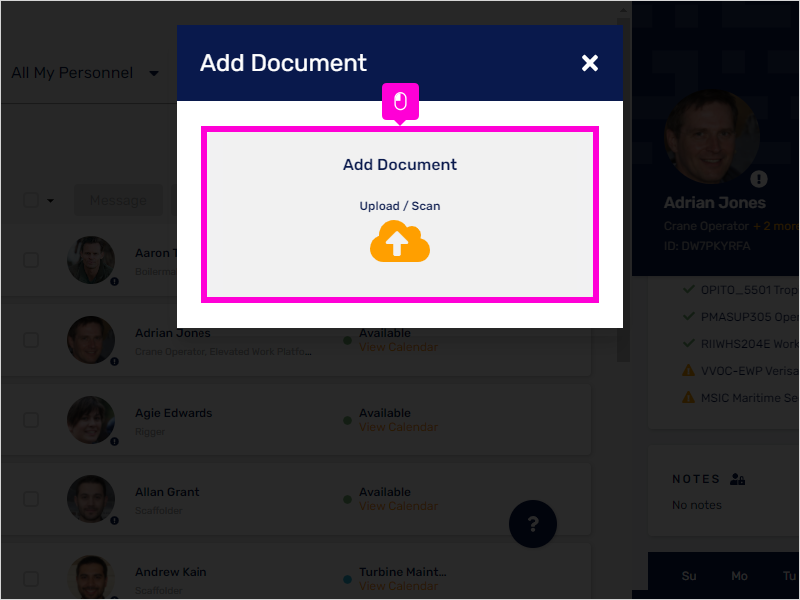
60. Once the document is uploaded, click Save.
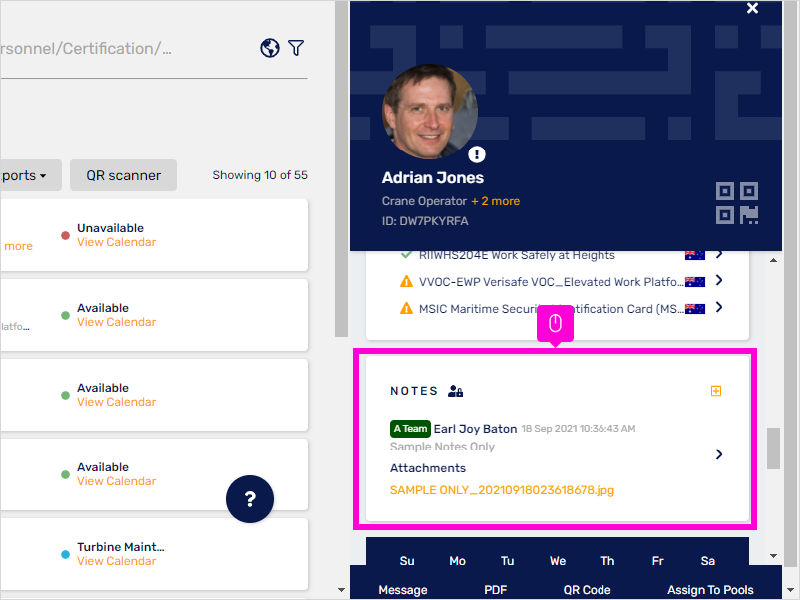
61. As shown here, the Notes detail has been added.
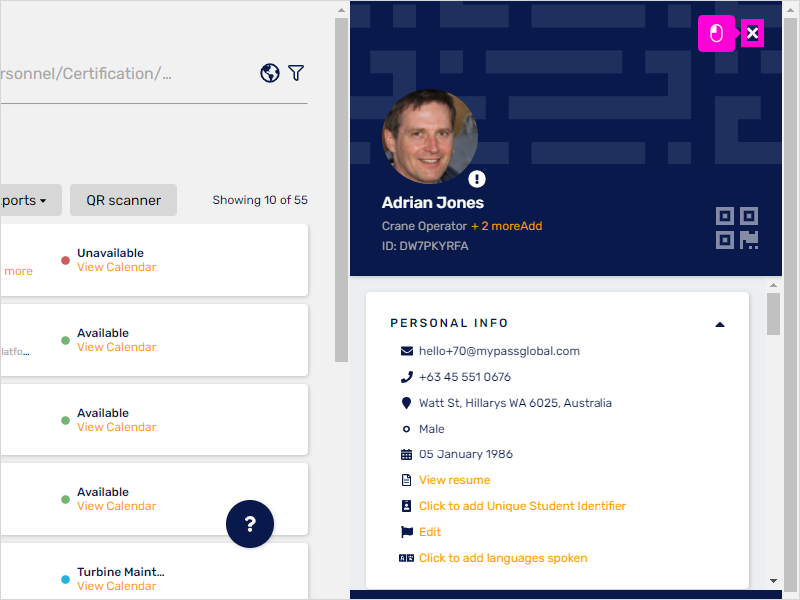
62. If you have updated and save everything, you may now click on the X icon at the top-most right corner of the worker profile to exit.
63. That's it. You're done.